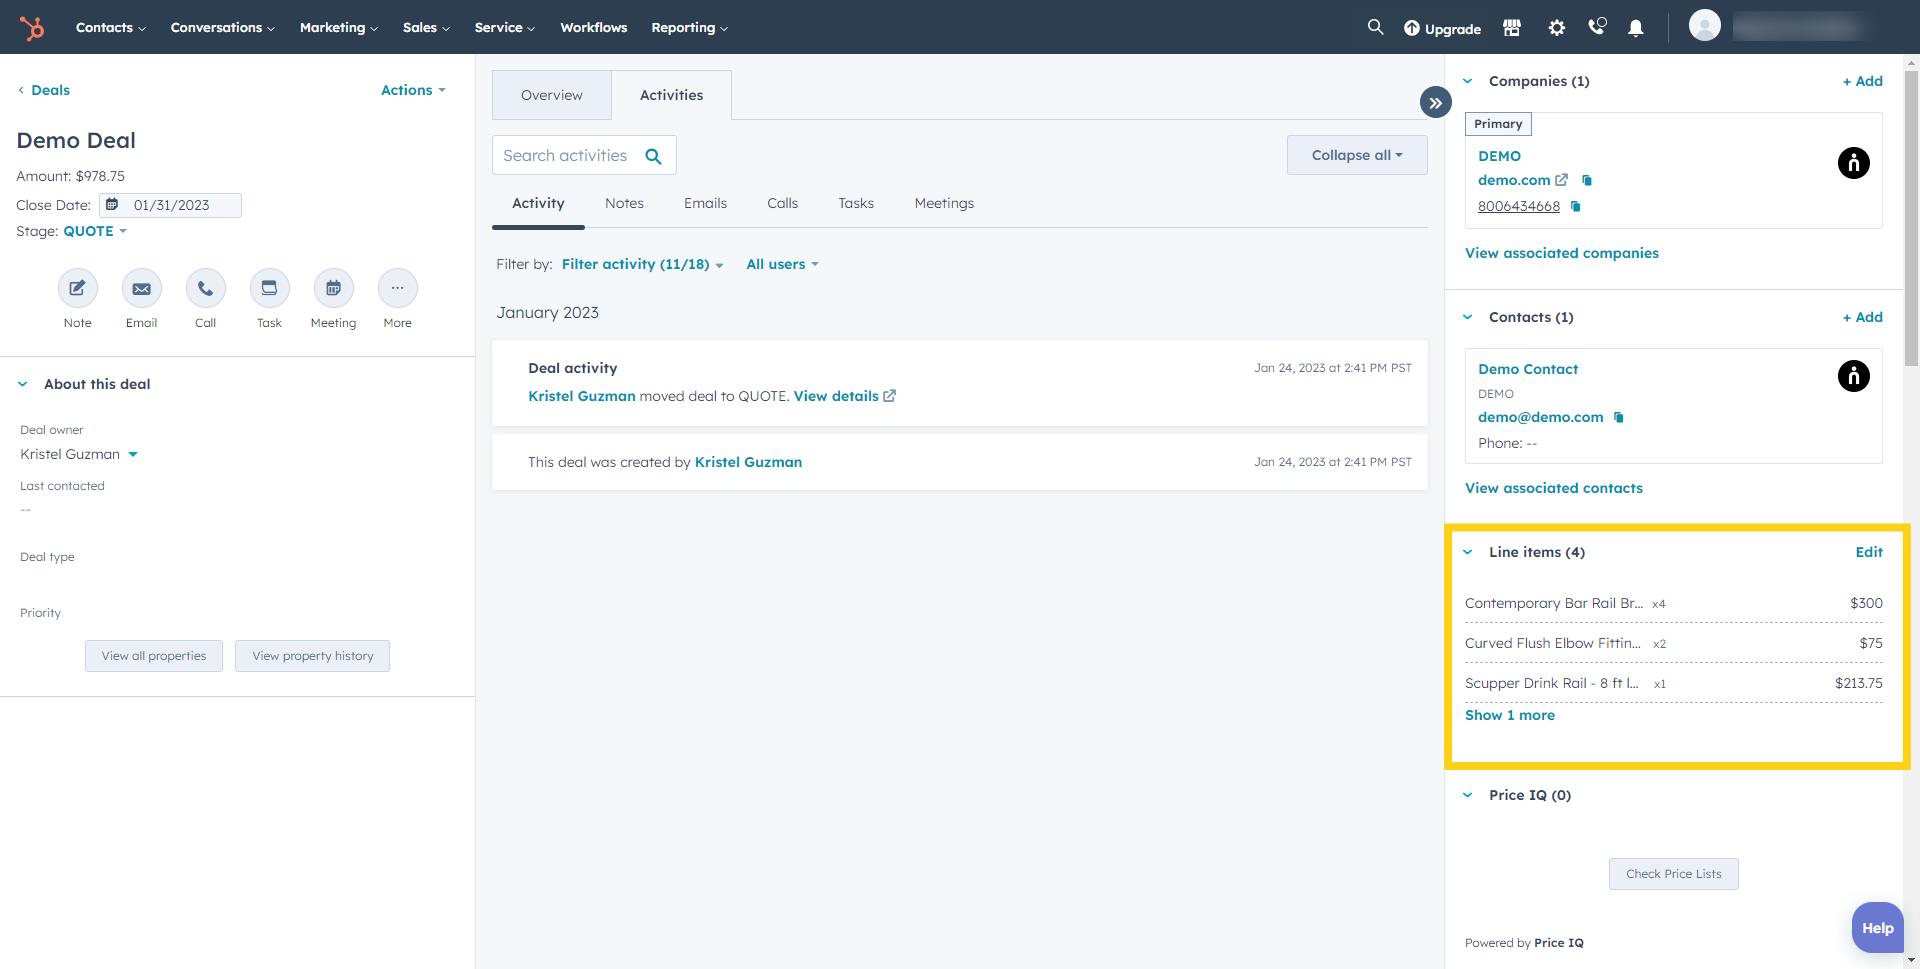
Price IQ Setup Guide
Register at Smart Ramp
Step 1
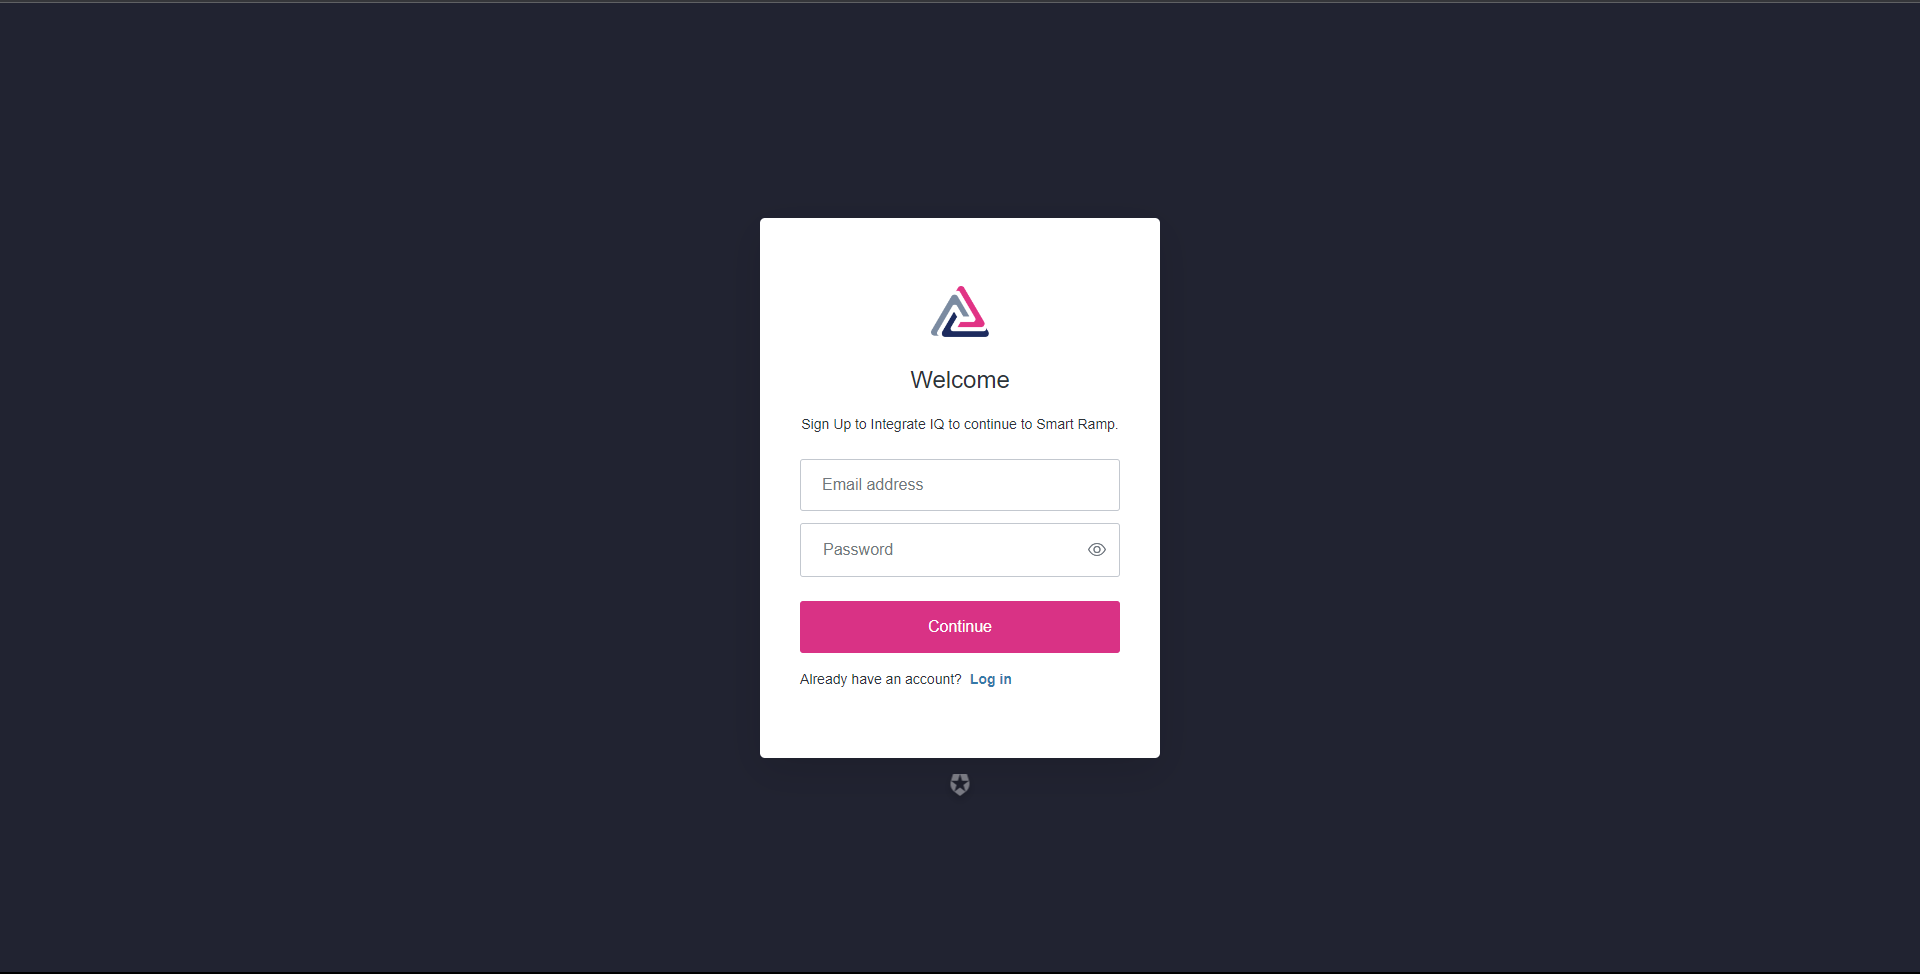
Register a user name and secure password from app.smartramp.com.
Step 2
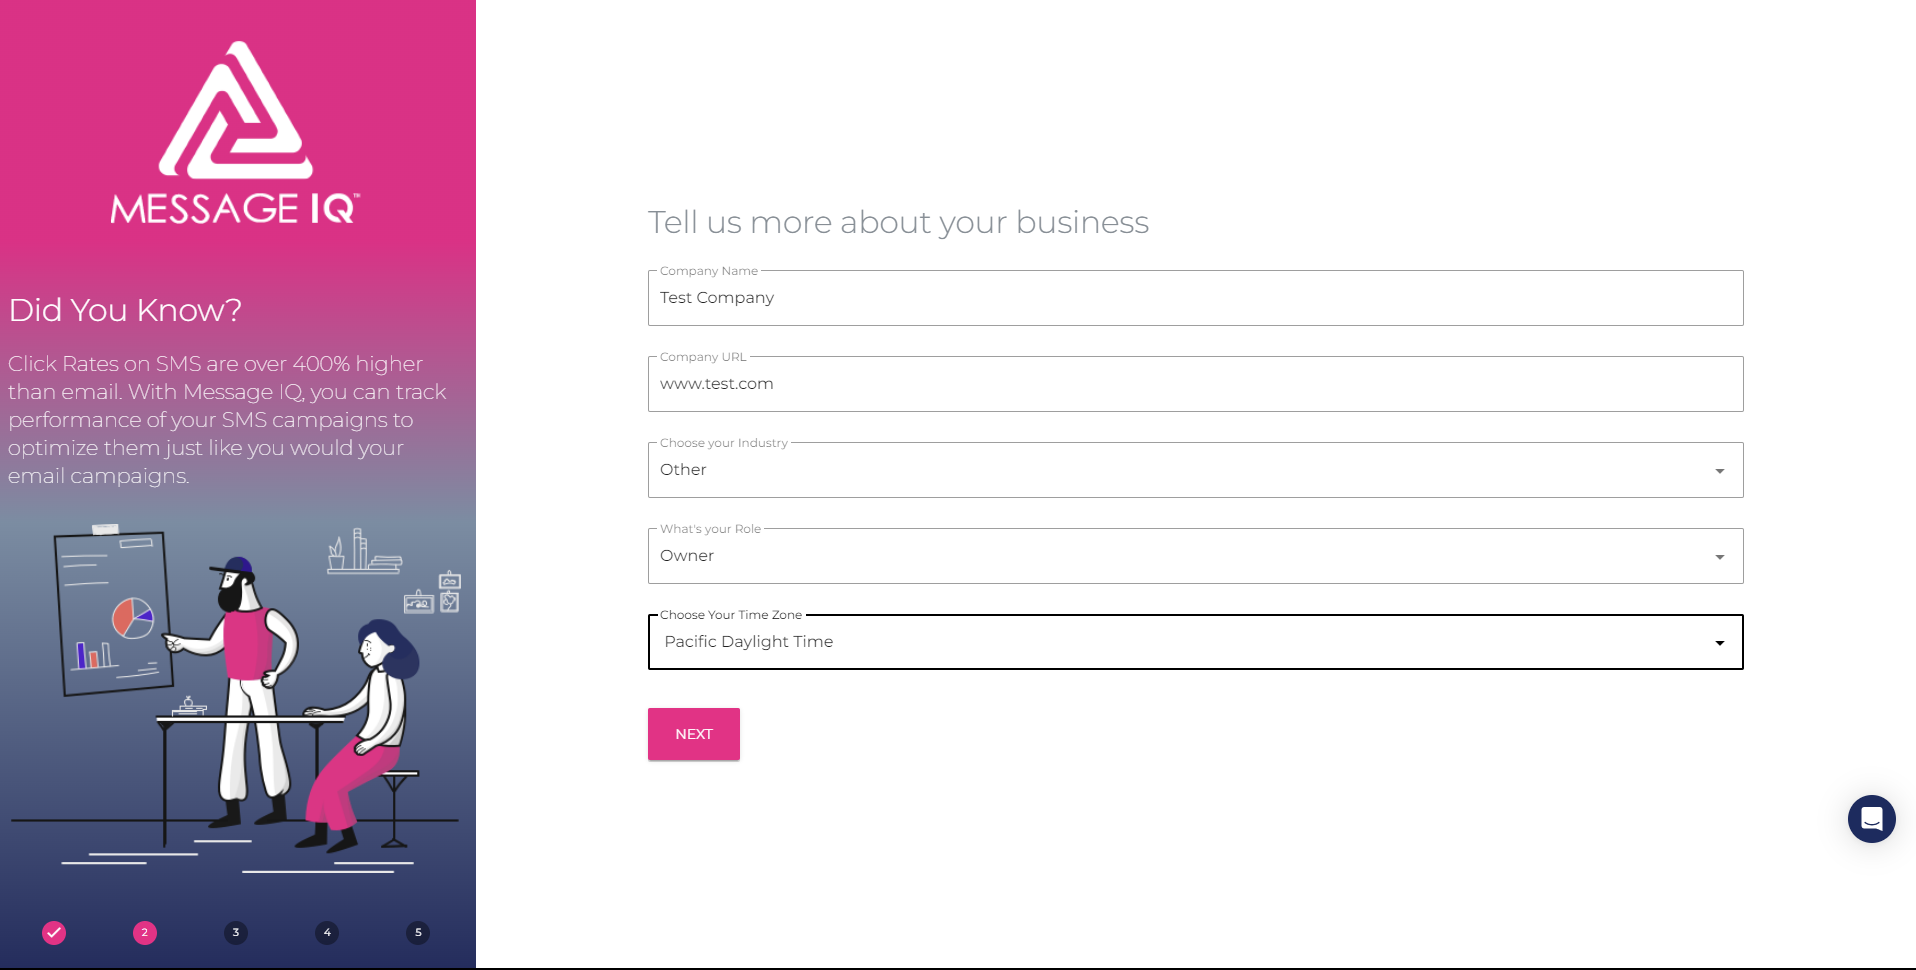
Enter personal profile details.
Step 3
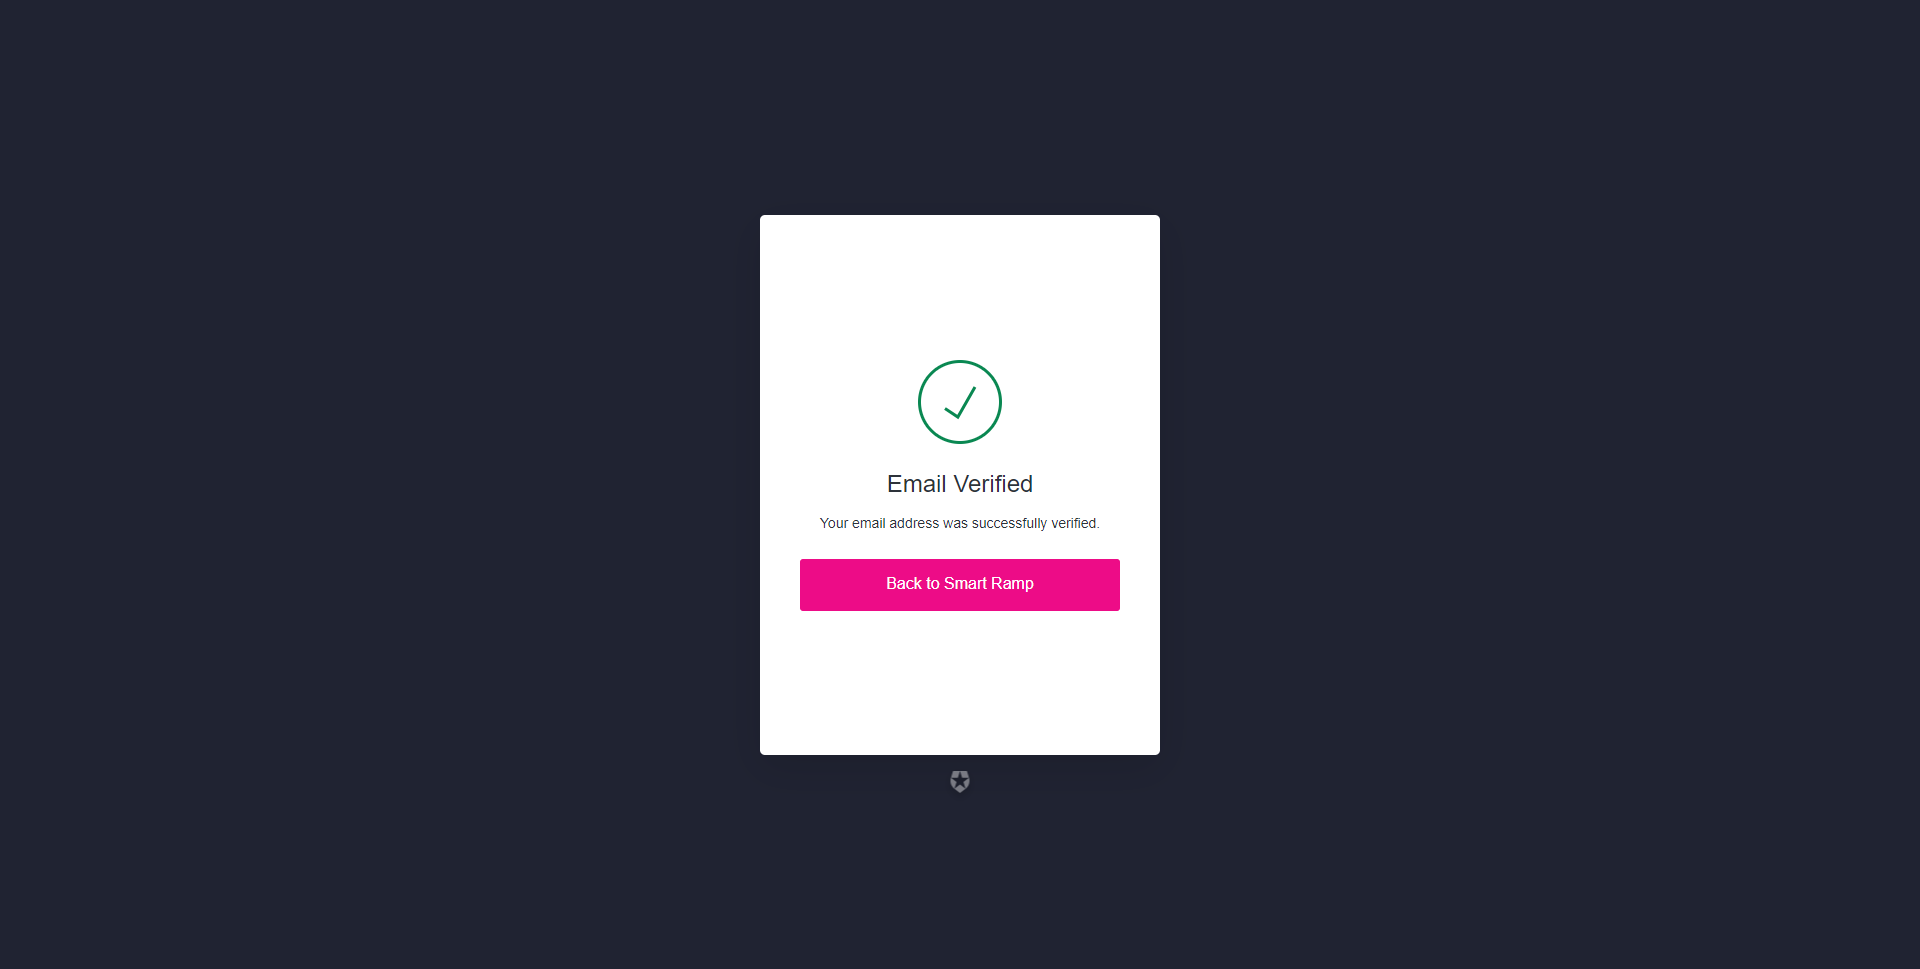
Check your inbox and verify your email. address
Purchase Price IQ
Step 1
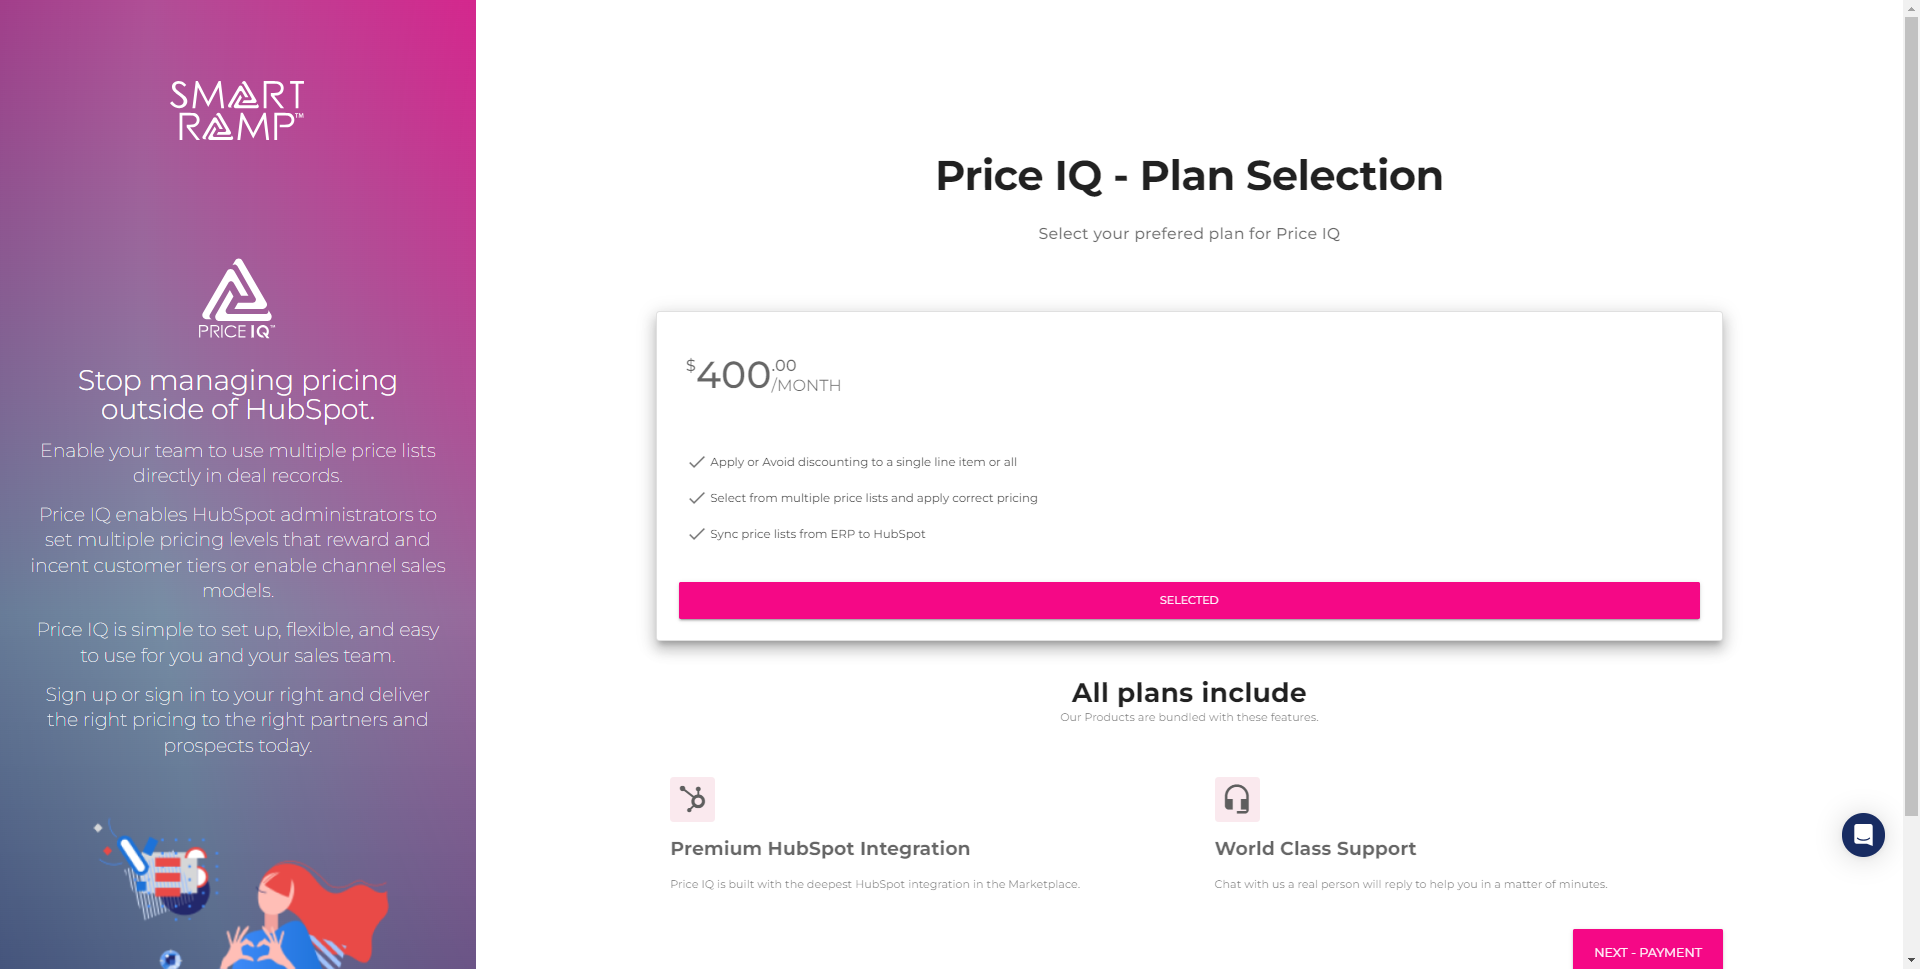
Select your desired plan and click Next – Payment.
Step 2
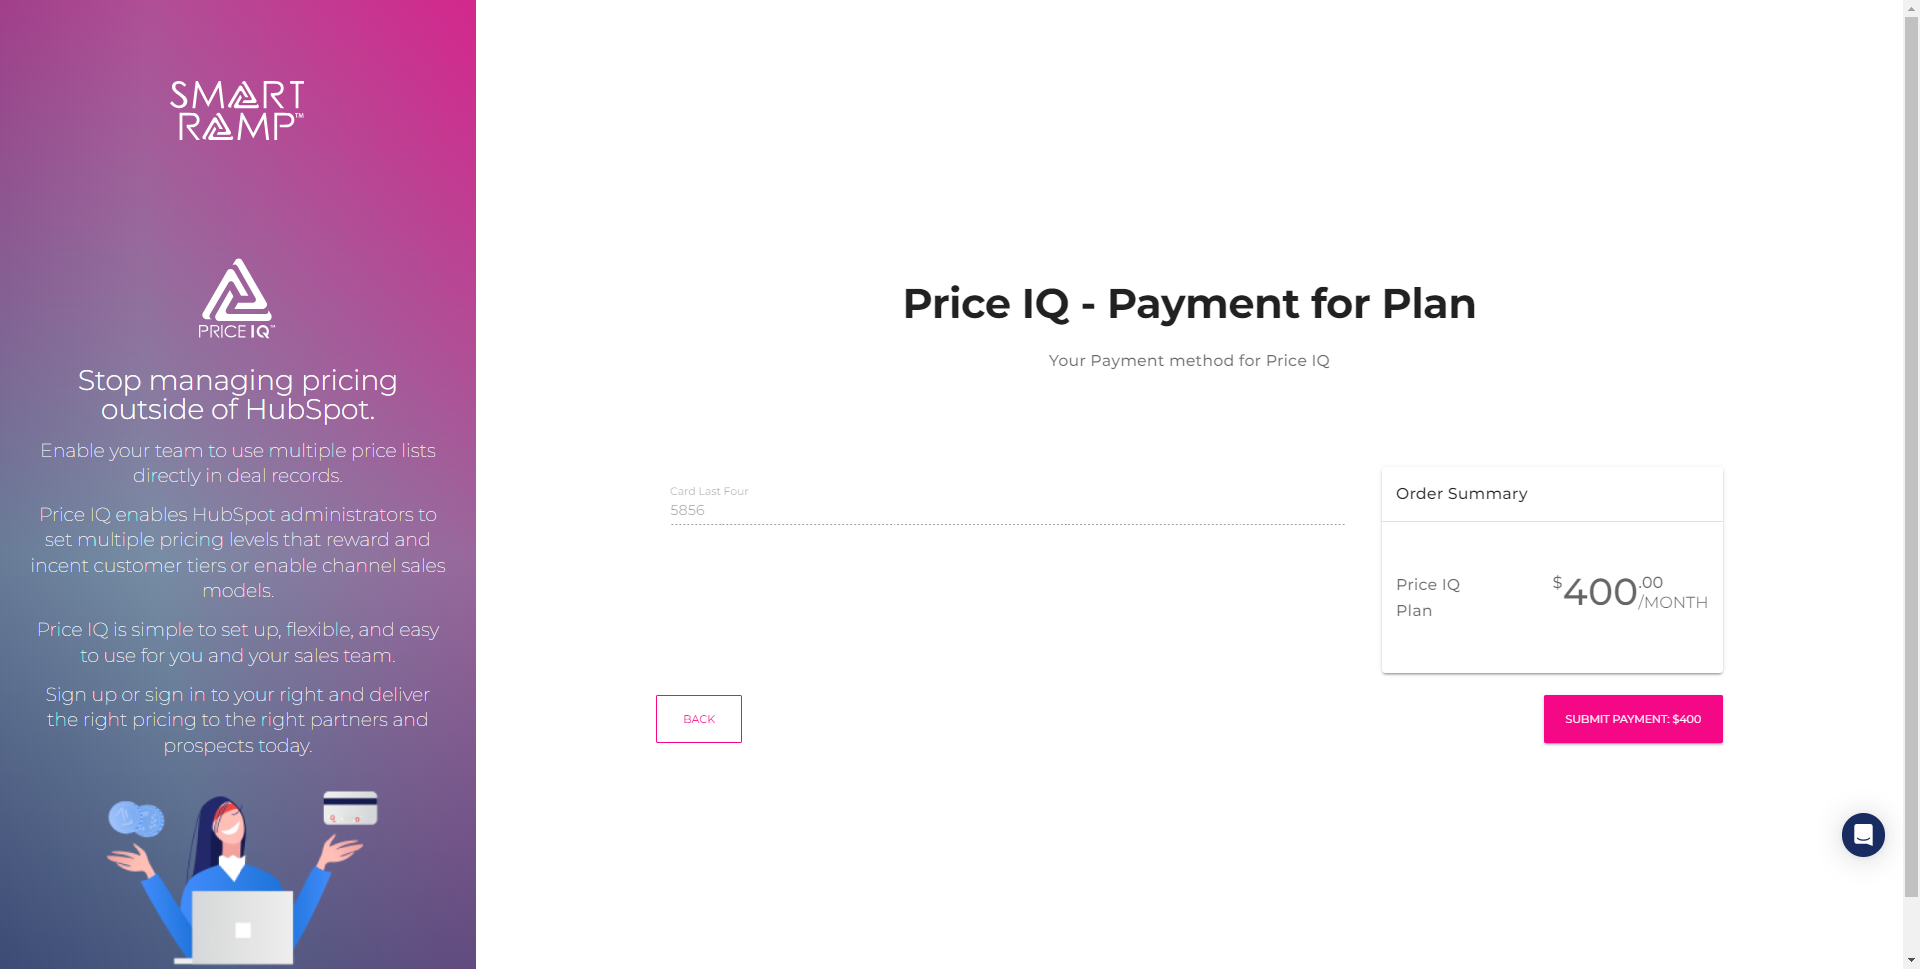
Enter your billing details in our secure portal. If you are a returning customer, the last four digits of the payment card you used previously will be displayed.
Click Submit Payment to complete the transaction.
Create and Configure Price Lists
Step 1
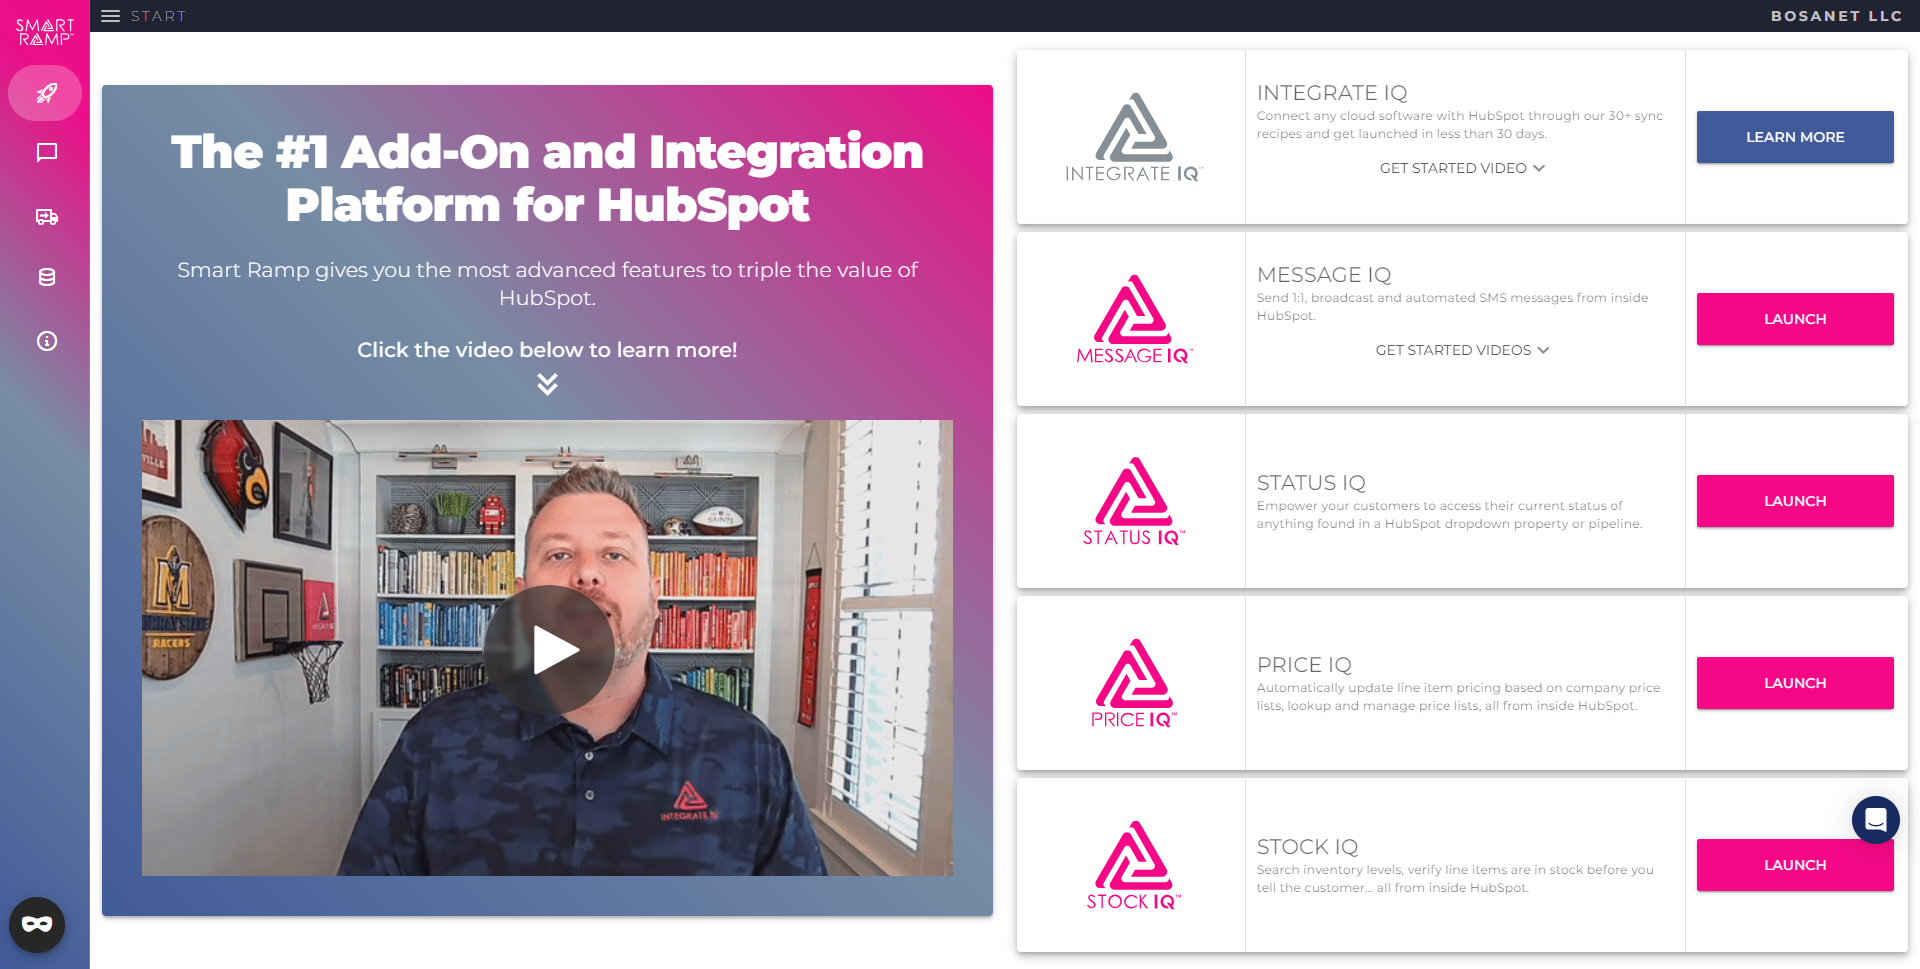
Launch Price IQ by clicking the Price IQ button in the Smart Ramp portal.
Step 2
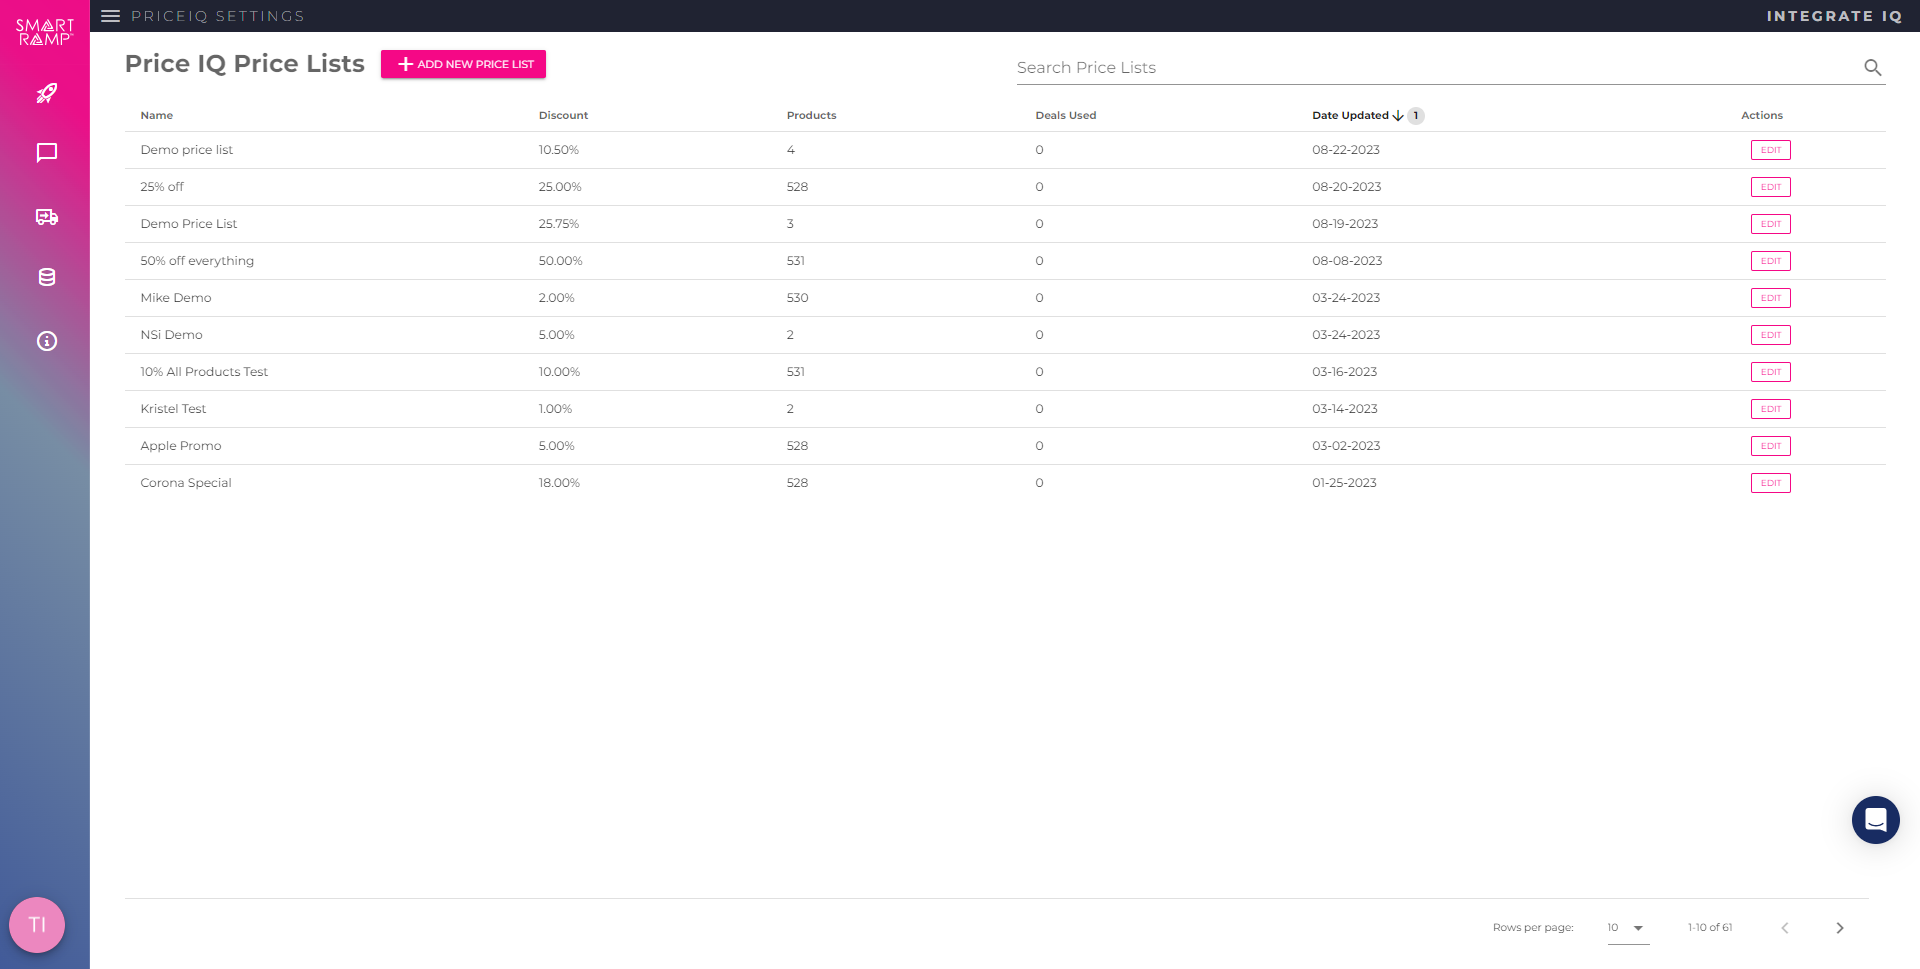
Add new price lists or edit existing price lists from the Price IQ Price Lists page.
Step 3
Enter a descriptive name for your new price list.
Enter a discount percentage from your standard pricing using a whole number and up to two decimal points.
Step 4
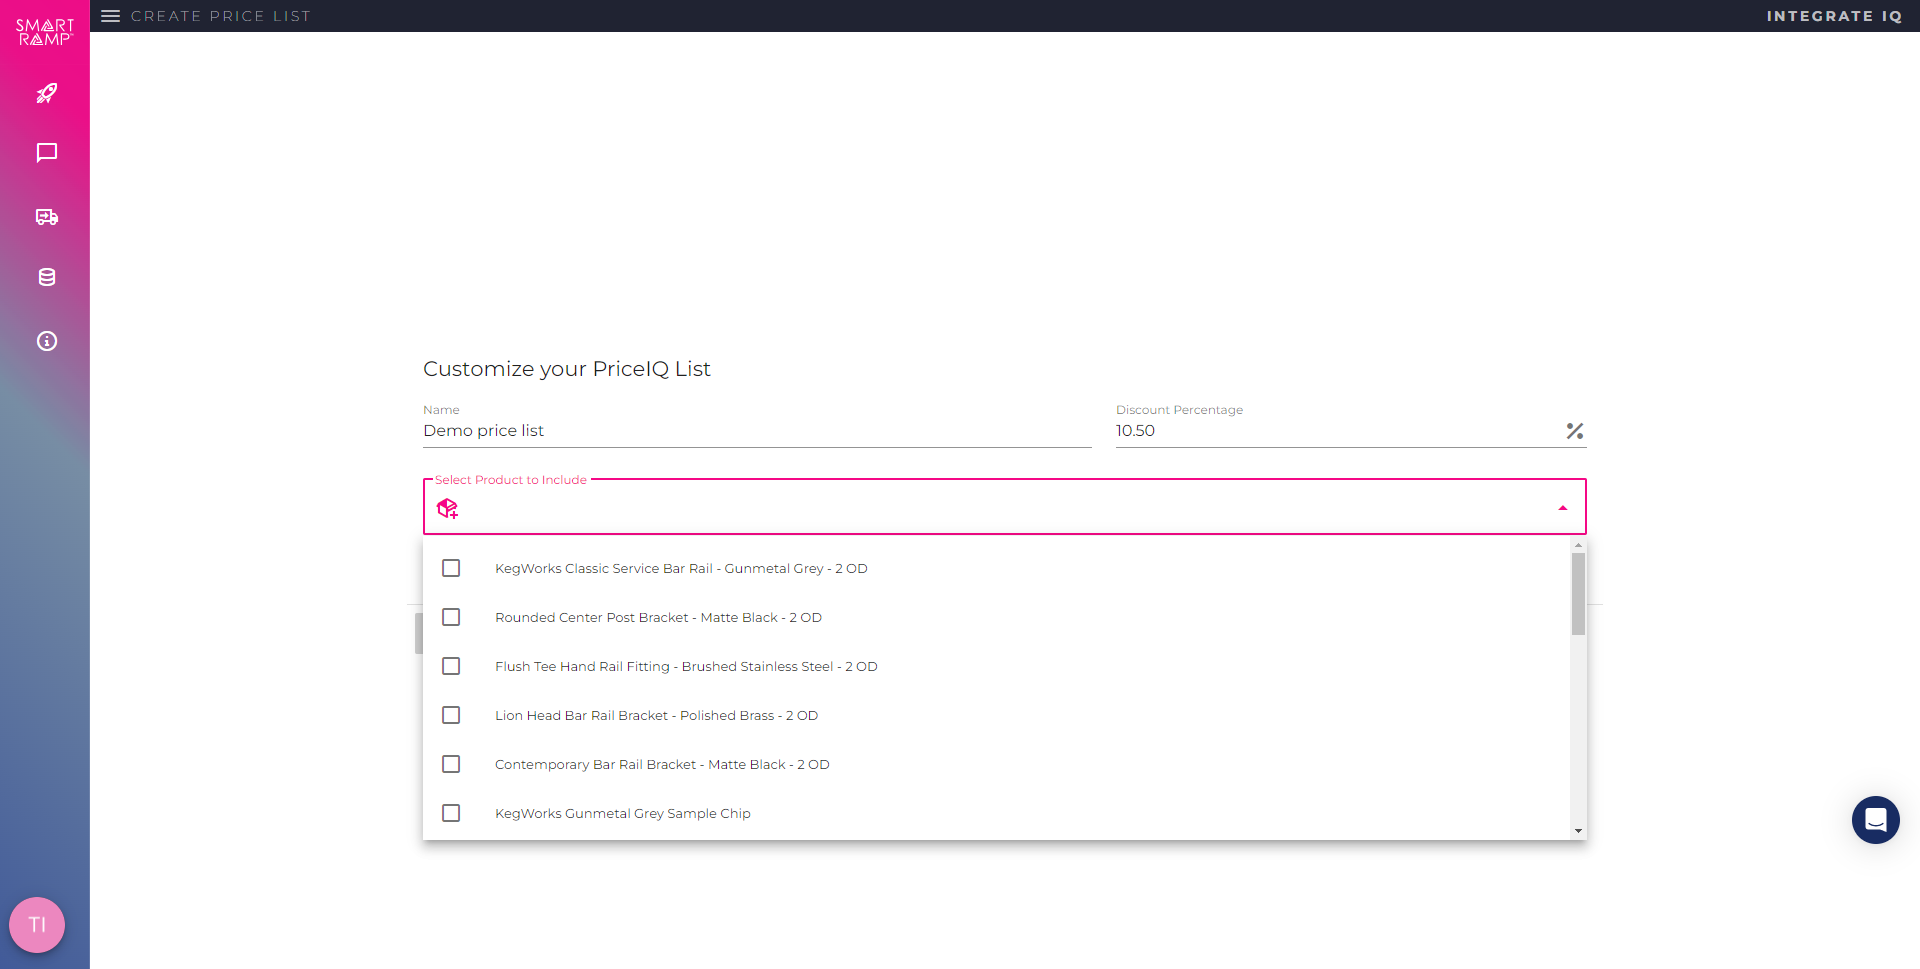
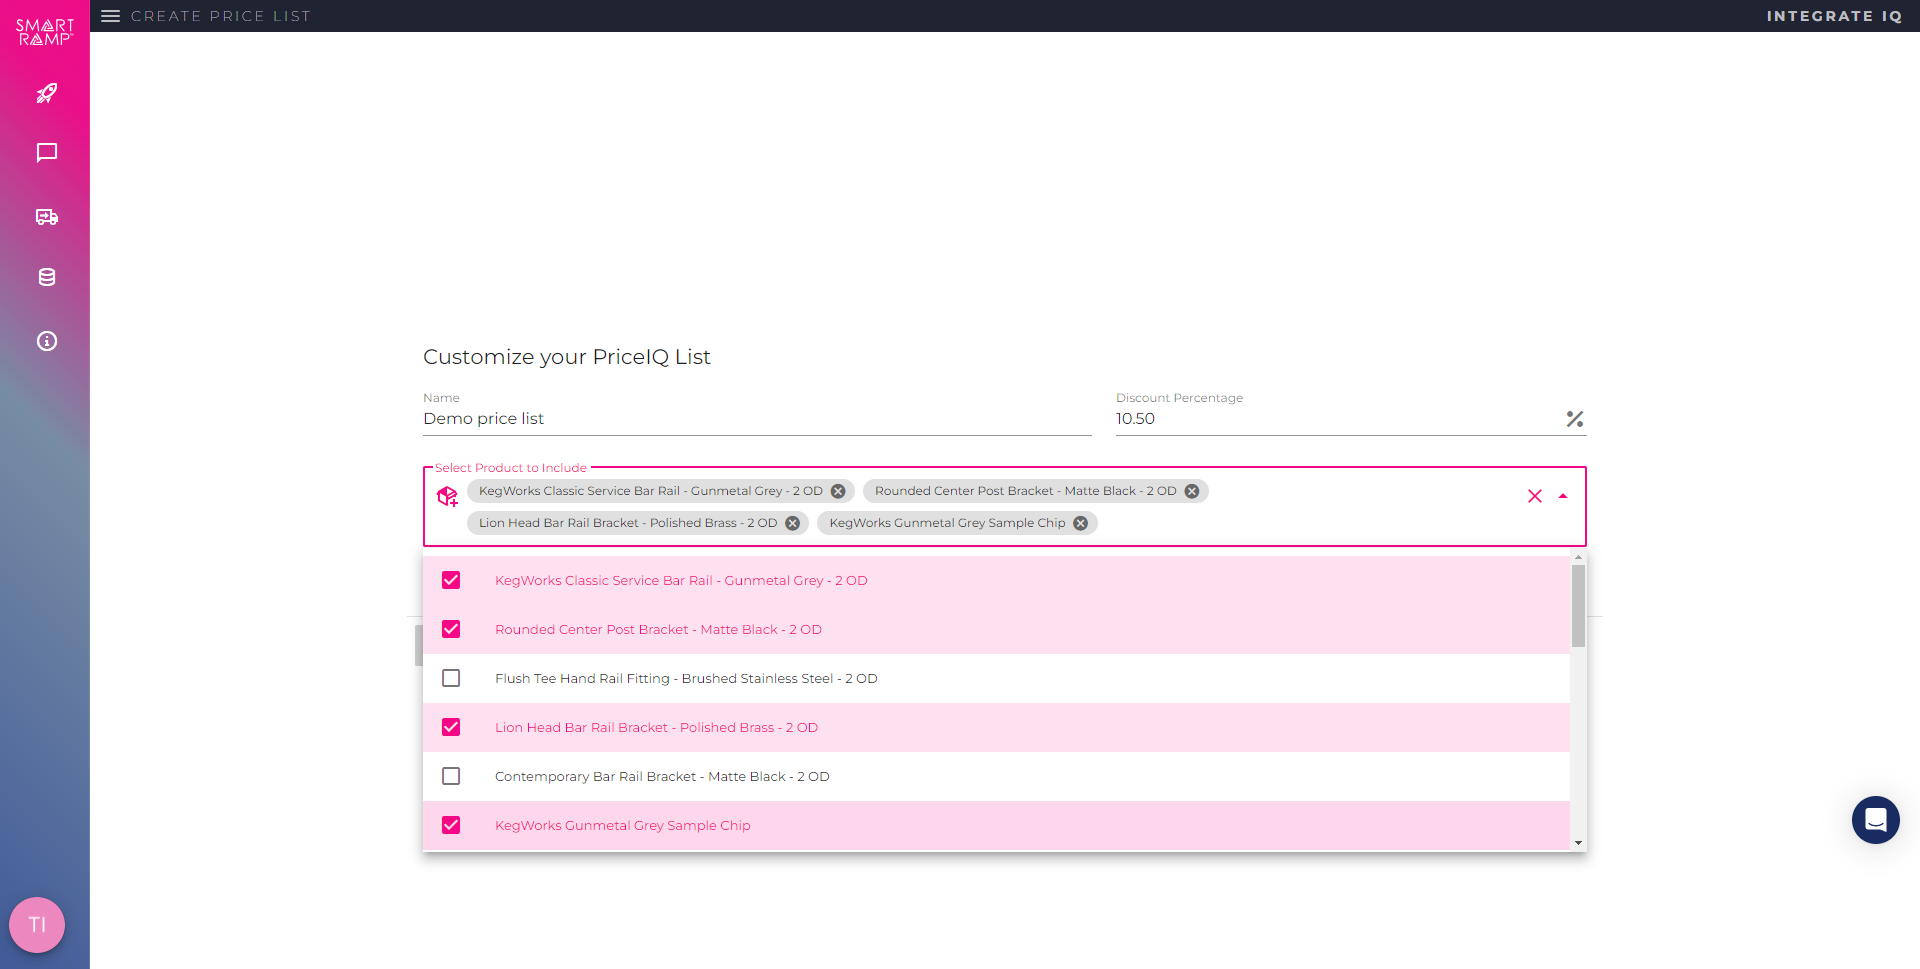
Search for a single product, use the multi-select checks, or click the use all products checkbox to identify the products you want to discount.
Click Save Price List.
Step 5
You will find your new price list on the Price IQ Price Lists page.

Apply Price Lists in HubSpot
Step 1
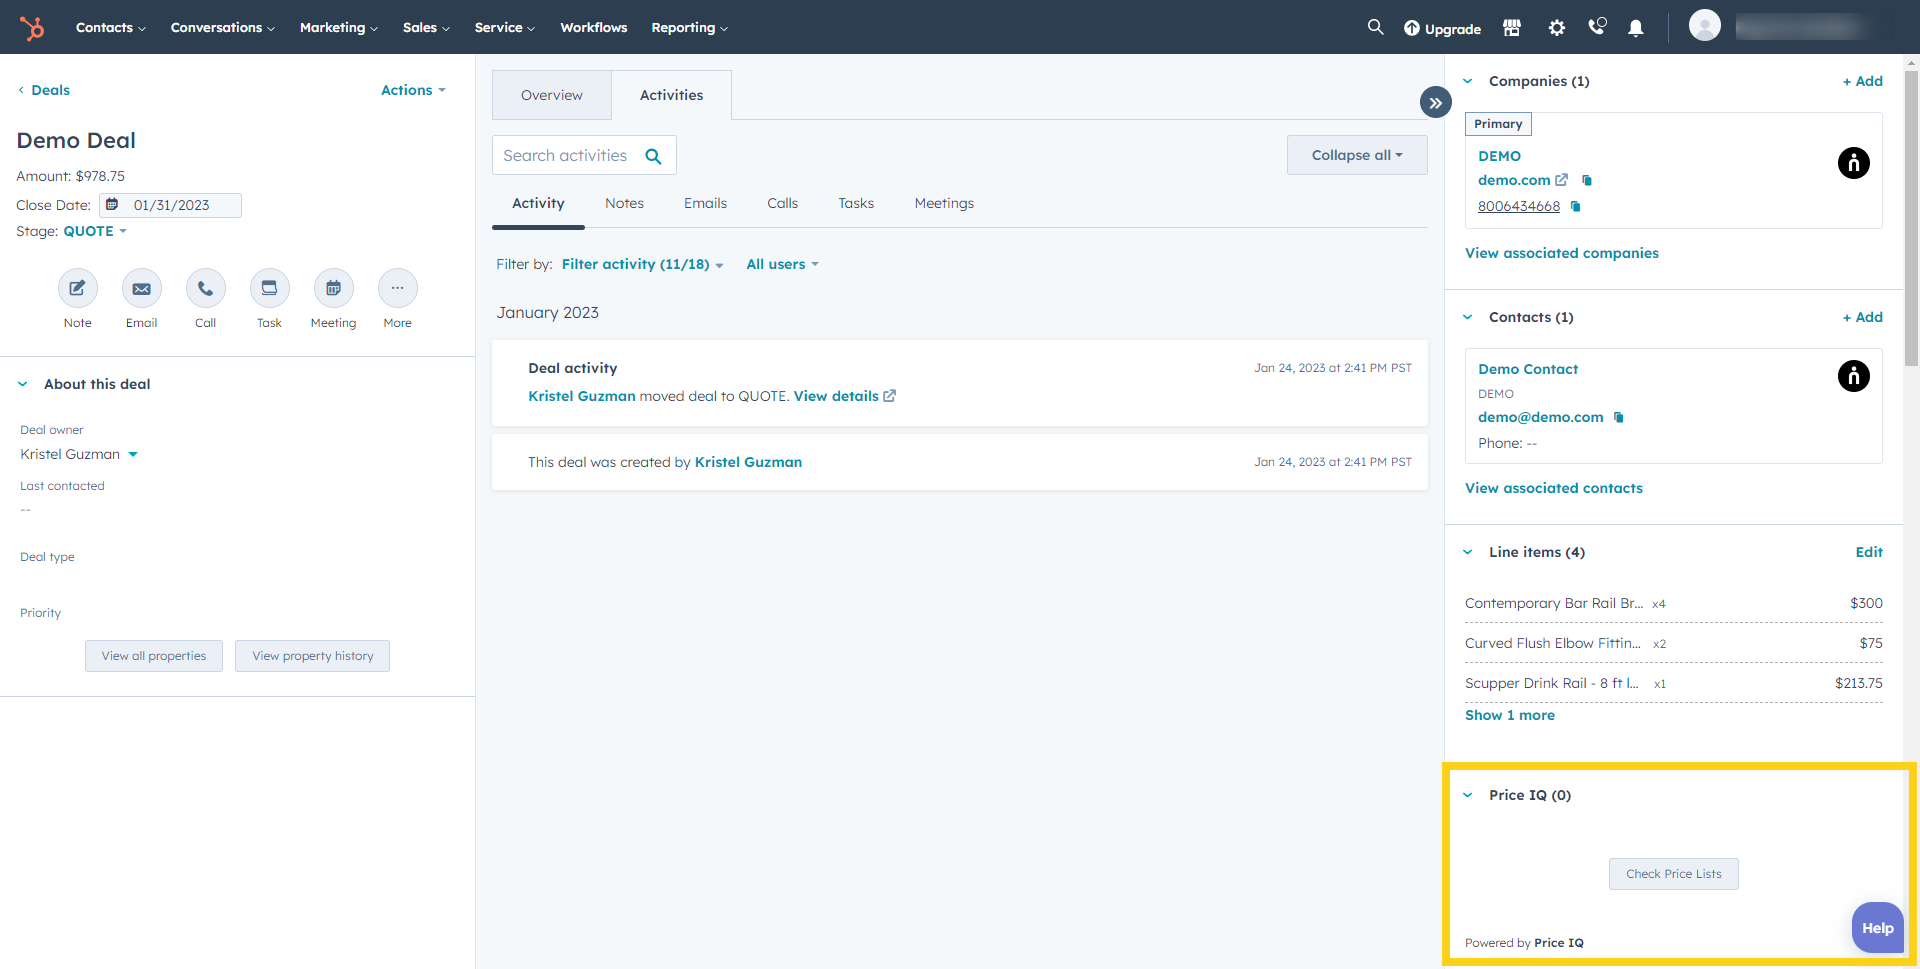
Price IQ automatically creates and places a CRM card in your Deal object. As with any other CRM card, you can move this to another part of the window.
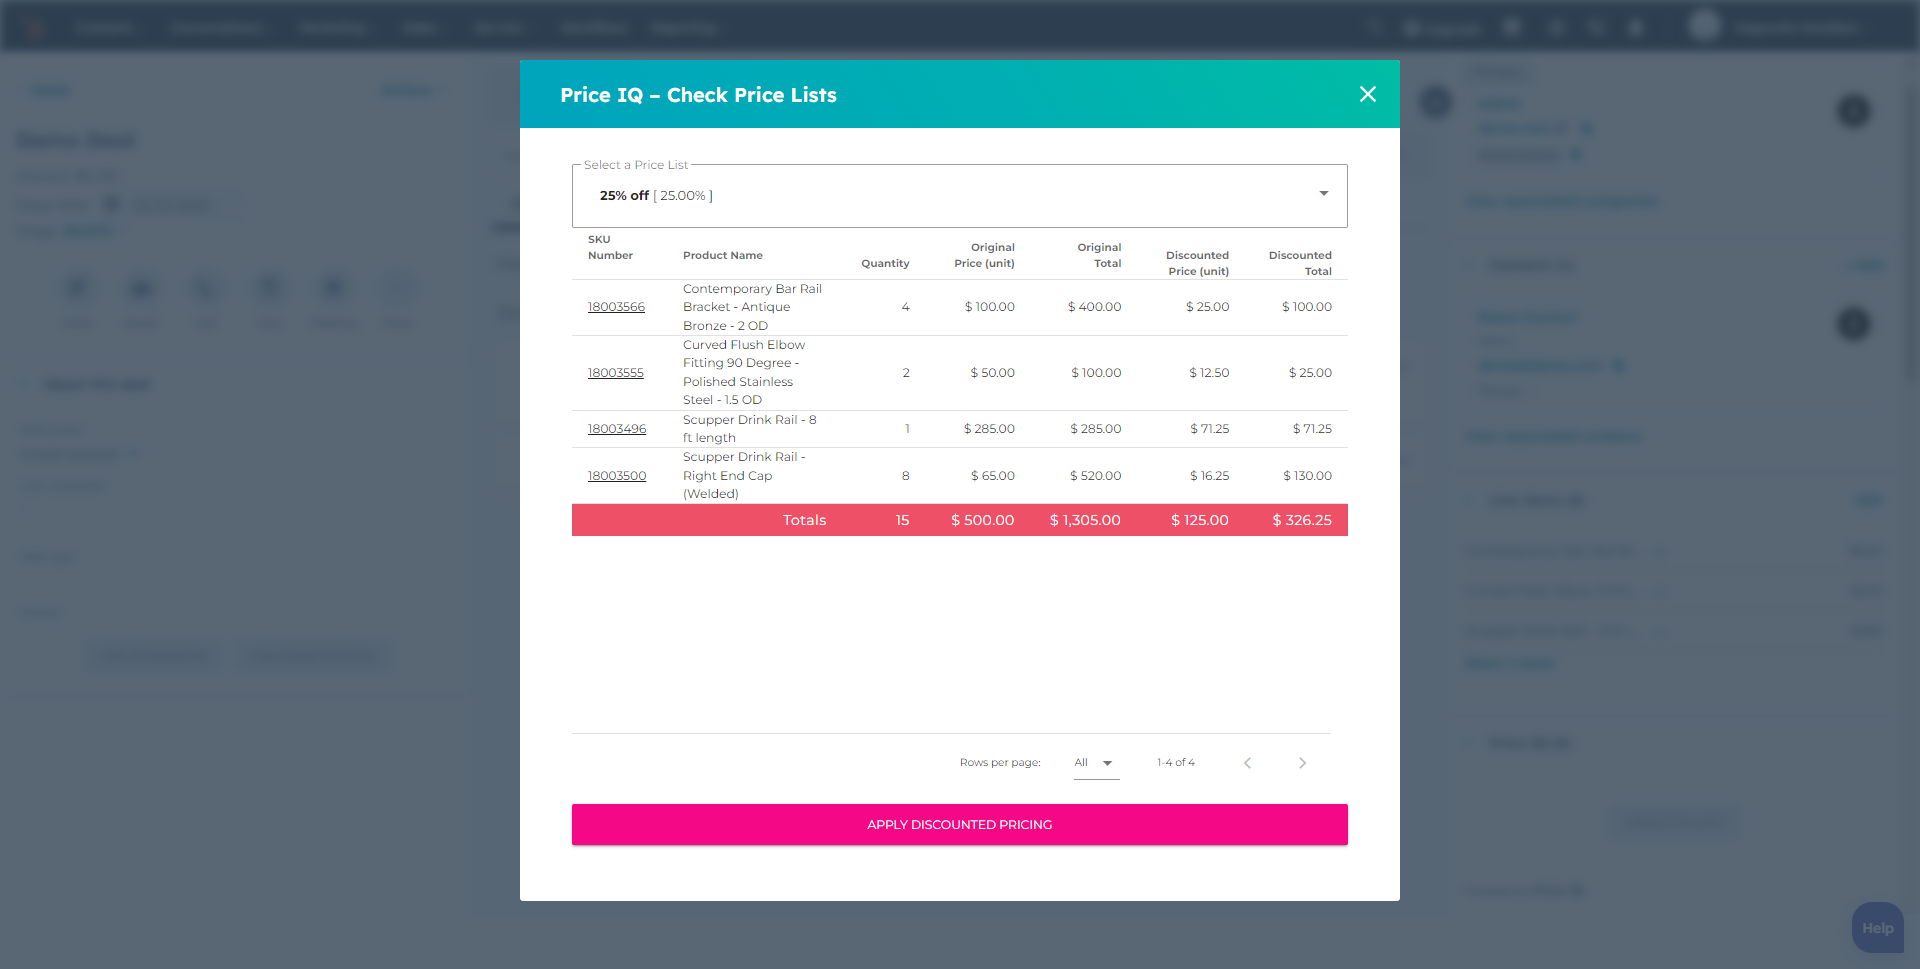
Click Check Price Lists to open the price list modal.
Step 2
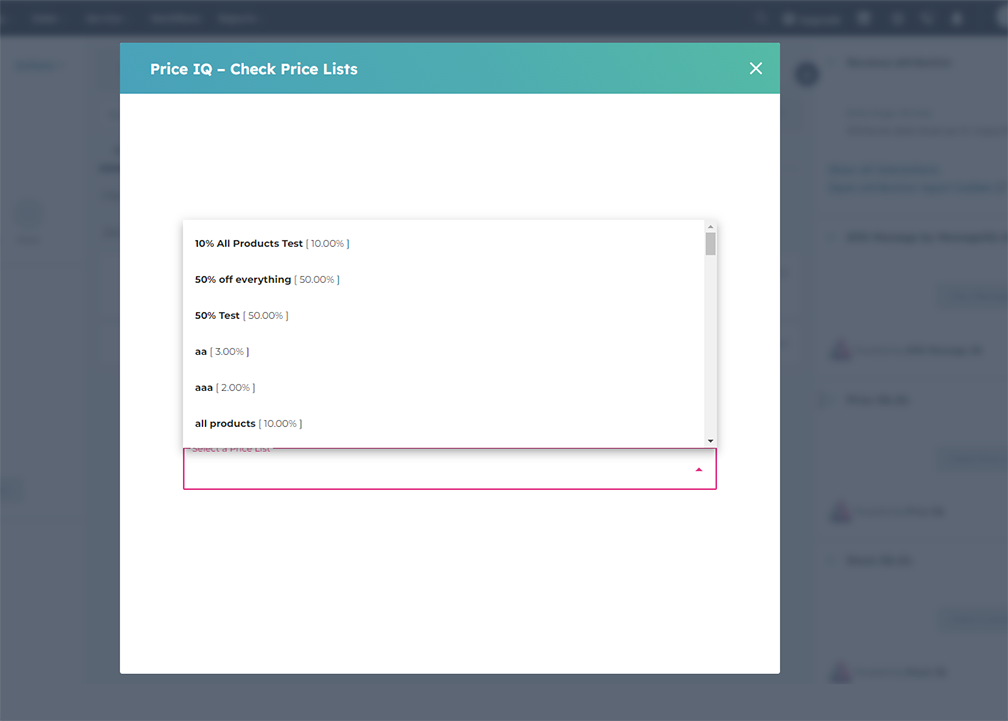
Select a price list from the options presented.
Price IQ will pull the line items from your Deal.
Step 3
Review the impact of your discount at the line item and Deal-level.
Items that are not in the price list you selected will not be discounted.
Click Apply Discounted Pricing.
Step 4
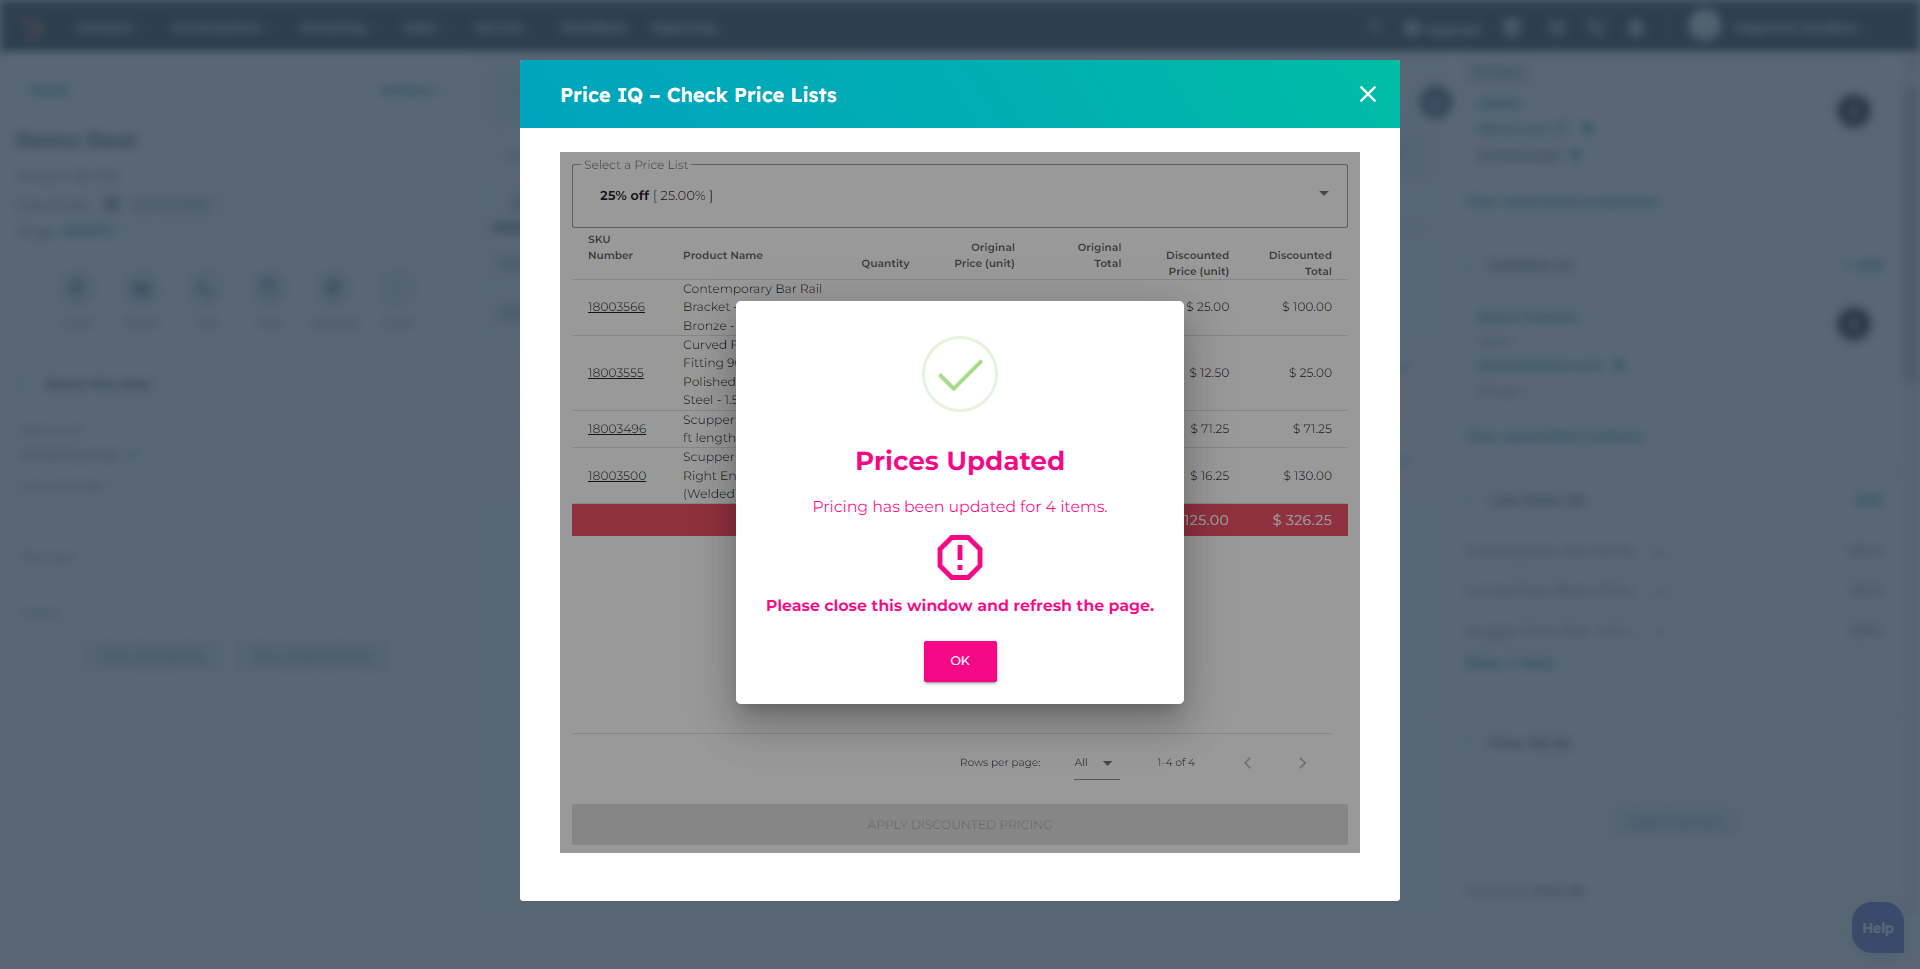
You will receive a confirmation popup. Click OK to return to your Deal record.
Step 5
Refresh your web browser and you will see the Deal line items and Deal amount have been updated to the new pricing.
