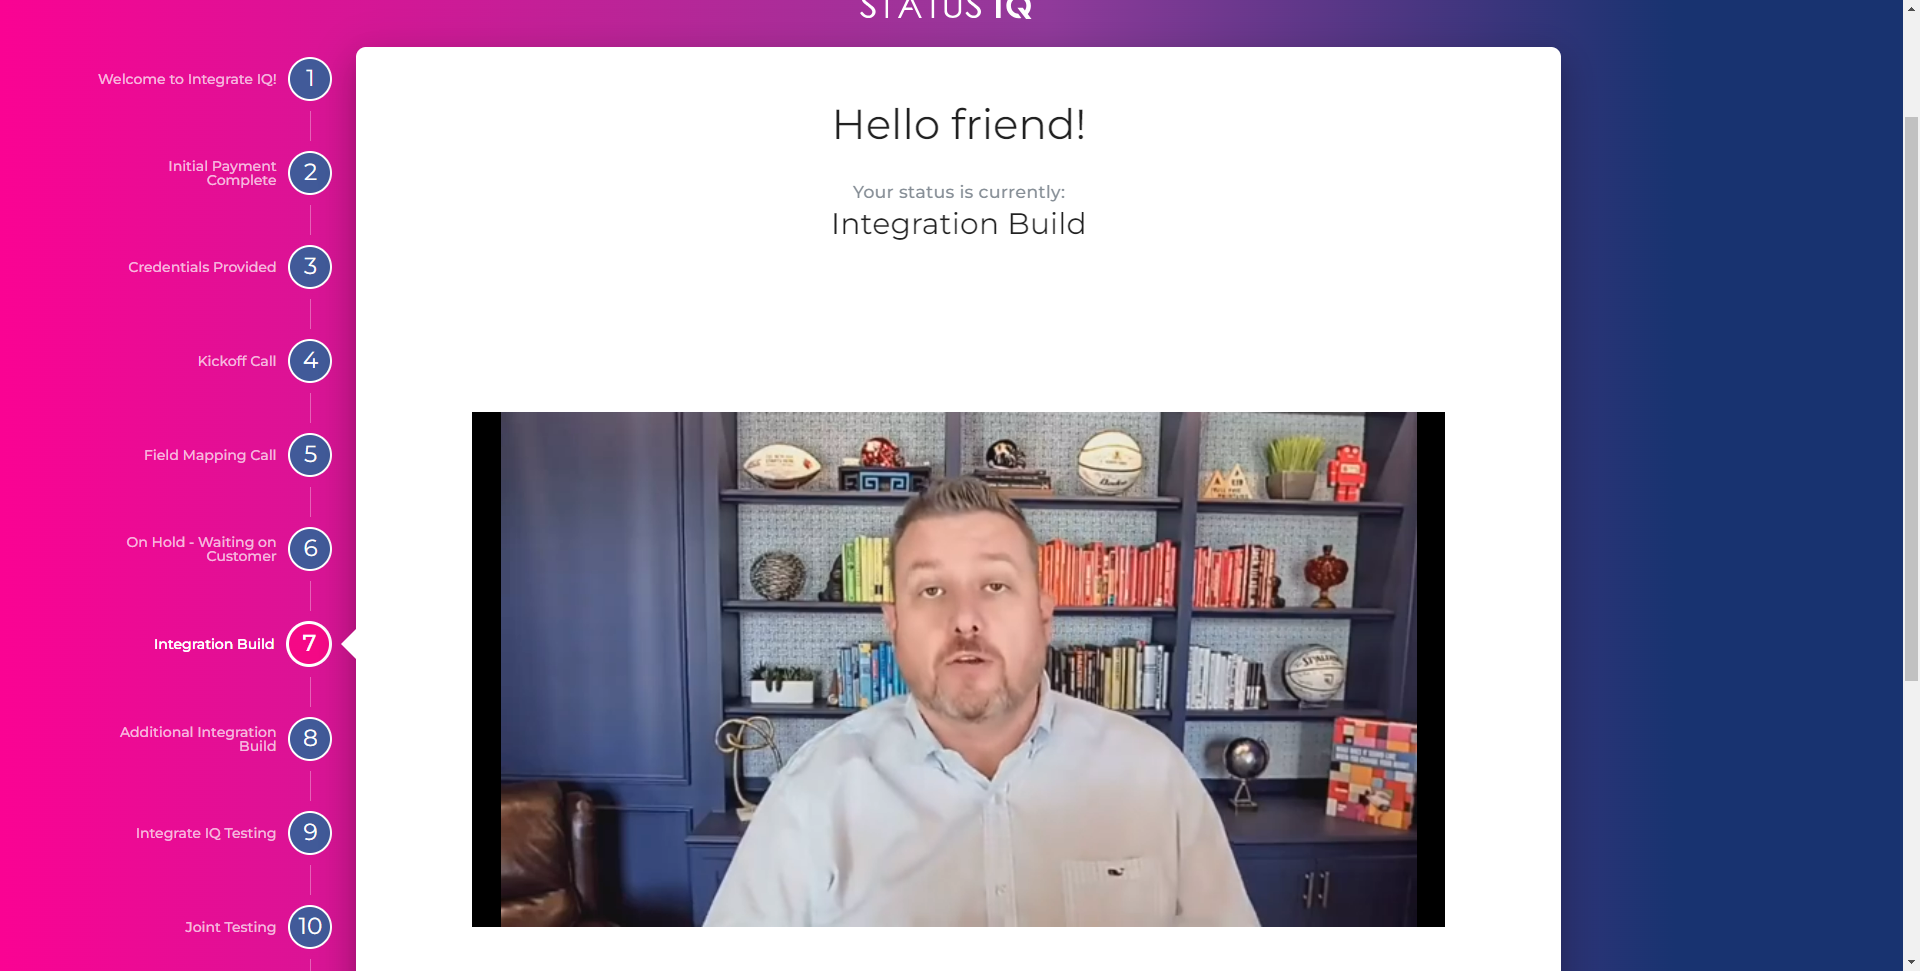
Status IQ Setup Guide
Register at Smart Ramp
Step 1
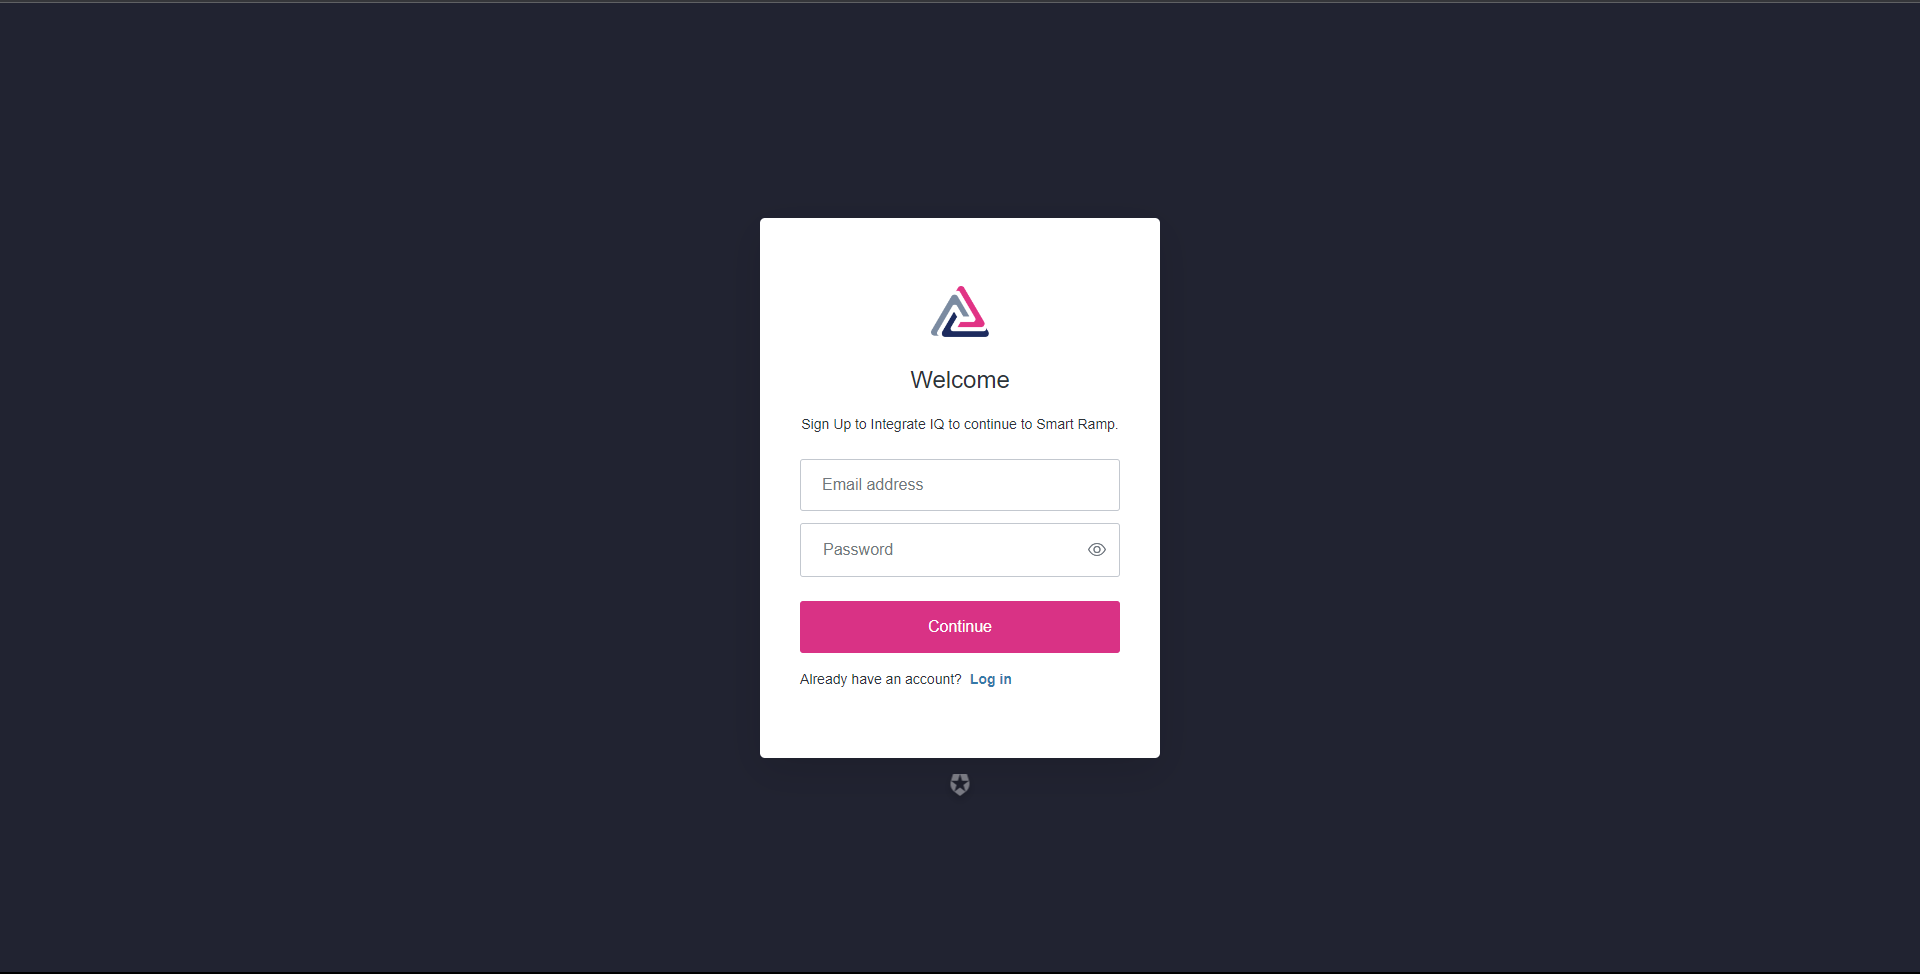
Register a user name and secure password from app.smartramp.com.
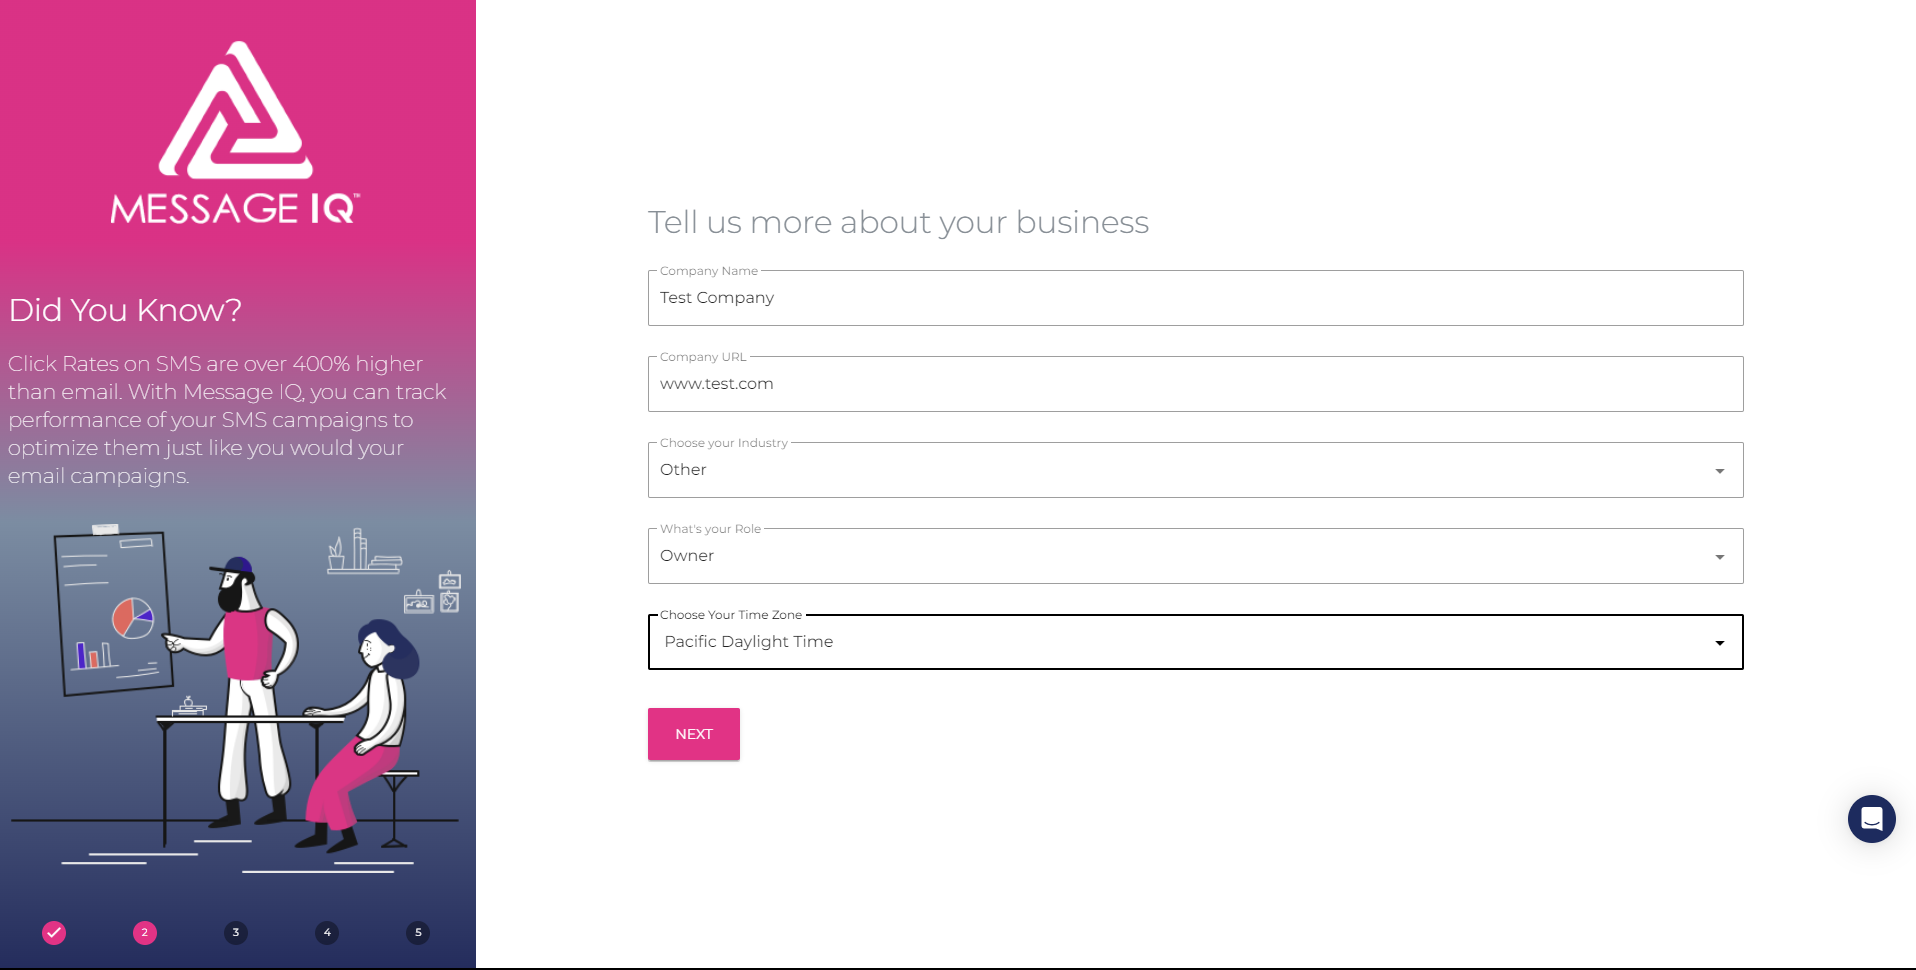
Step 2
Enter personal profile details.
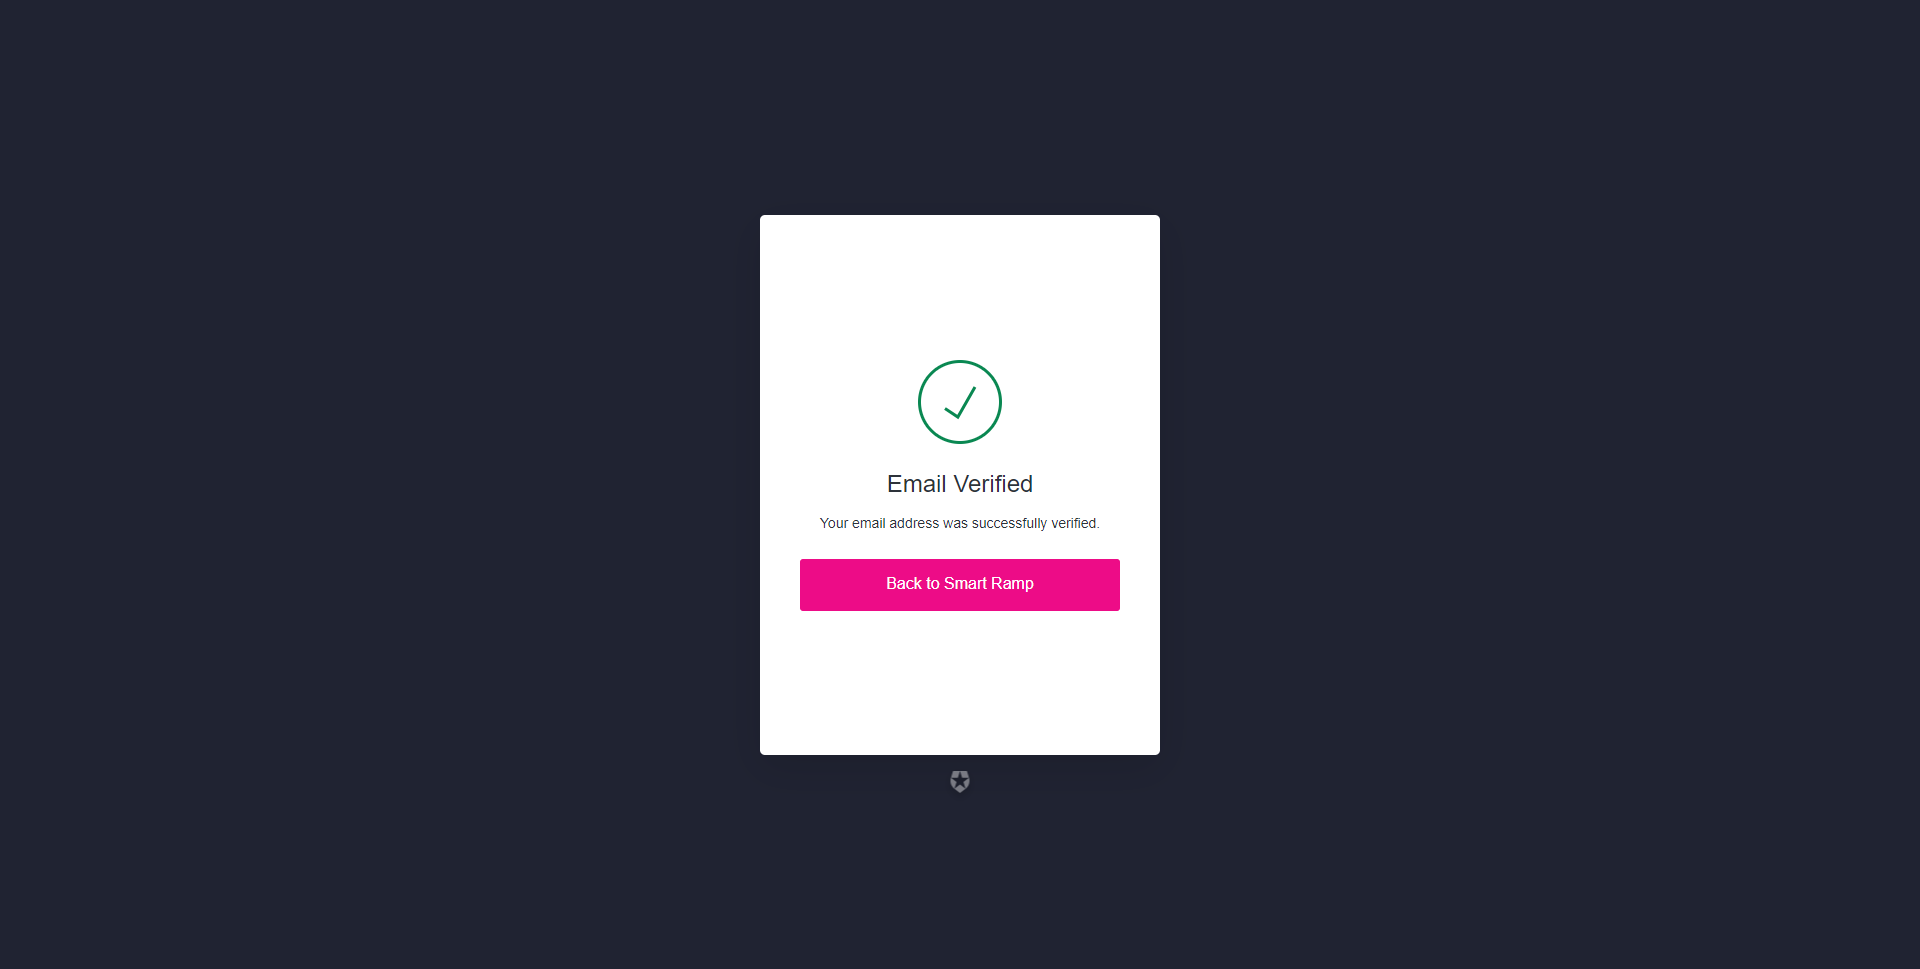
Step 3
Check your inbox and verify your email. address
Purchase Status IQ
Step 1
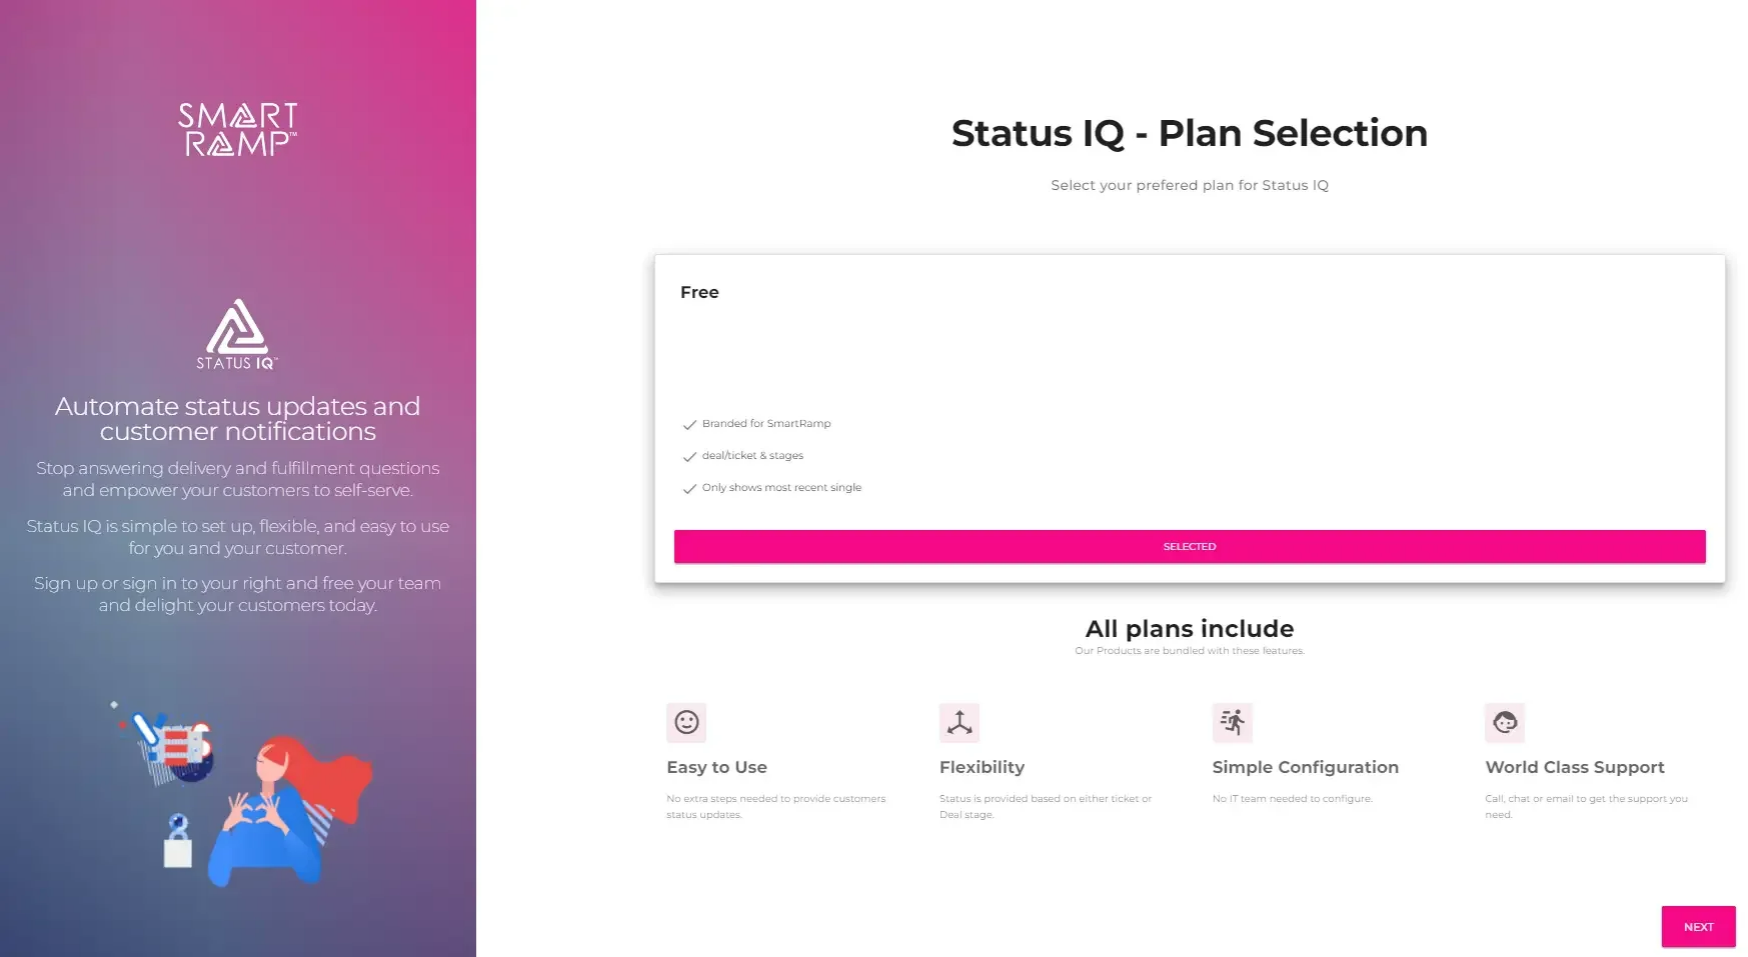
Select your desired plan and click Next.
Create A Tracker
Step 1
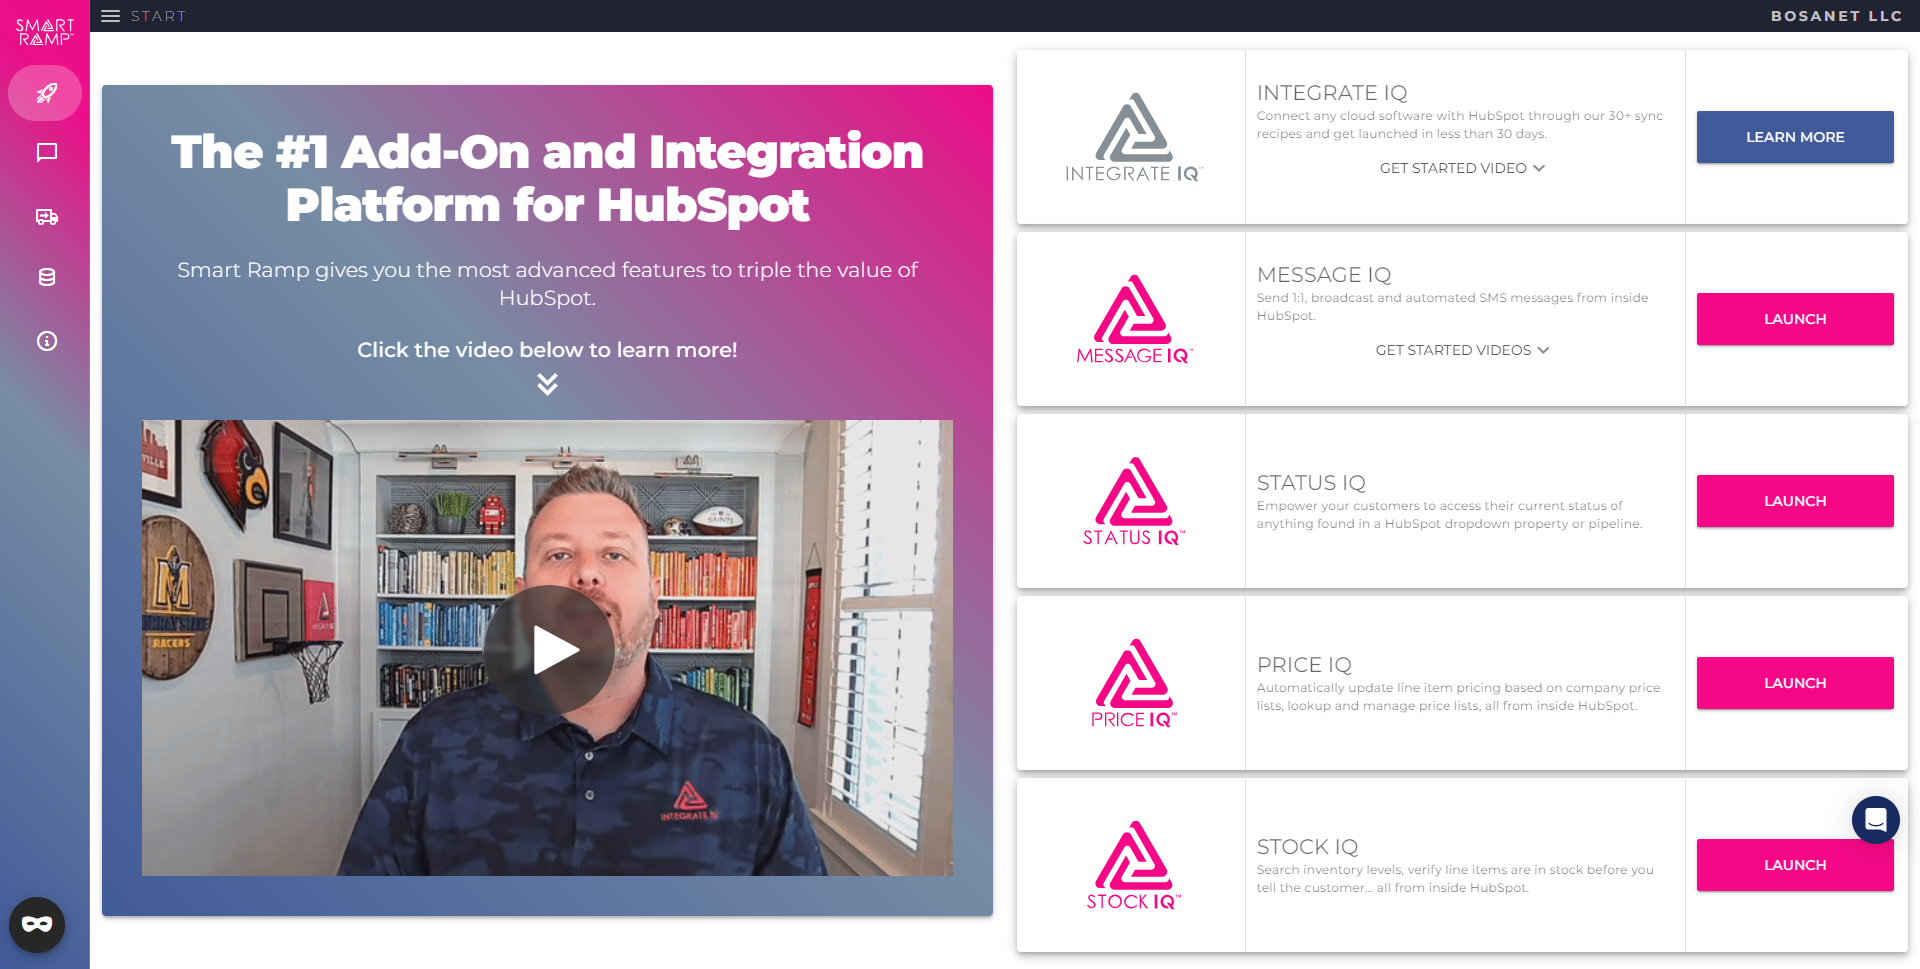
Launch Status IQ by clicking the Status IQ button in the Smart Ramp portal.
Step 2
Edit existing trackers or create new trackers from the tracker list page.
Step 3
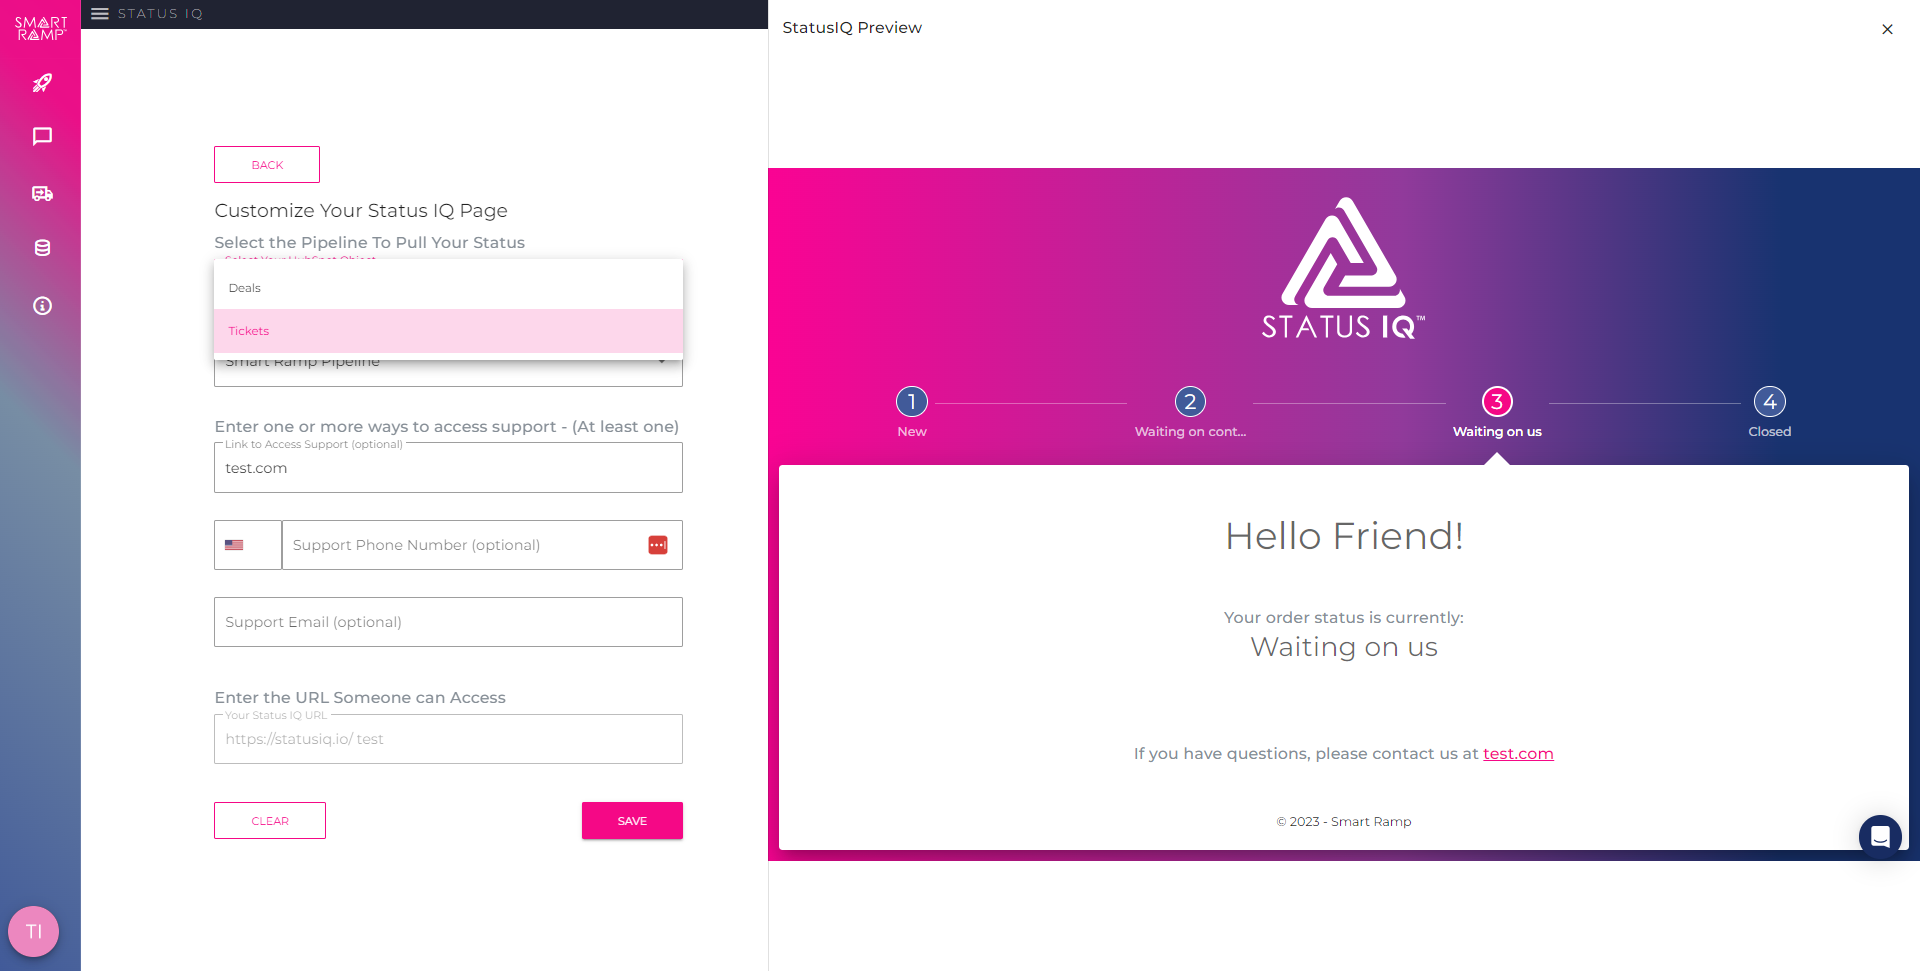
Select either a Deal or Ticket object that contains the Pipeline stages that you would like to report.
Step 4
Choose the pipeline that contains stages to be reported.
Pipelines with up to five stages are displayed horizontally across the top of the page. Pipelines with more stages are displayed down the left hand side of the page.
Support information is presented along the bottom of the tracker.
Step 5
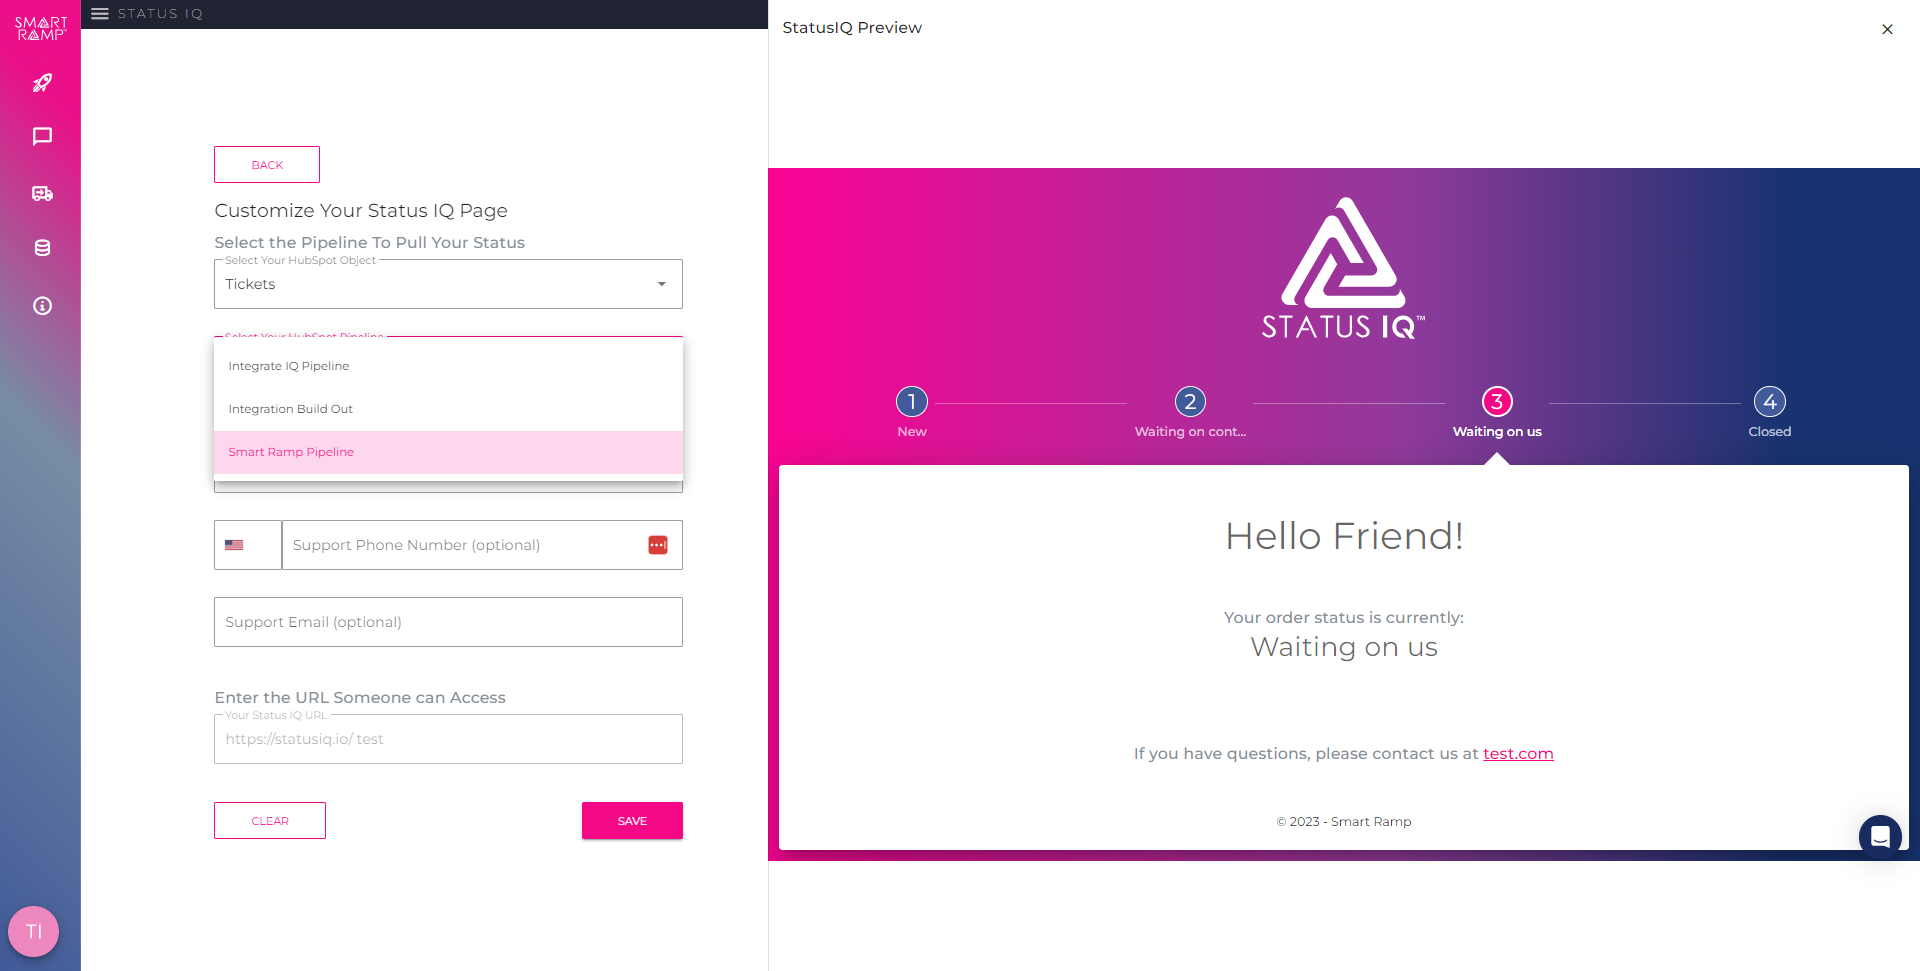
Enter support channels. This data will be published in the footer of the tracker. One way to contact support is required.
Enter an identifying URL. The URL you enter will be the name of the tracker.
Step 6
Search for the name of the URL entered in the final step of configuration.
Provide the tracker URL to customers.
Customer Tracker Experience
Step 1
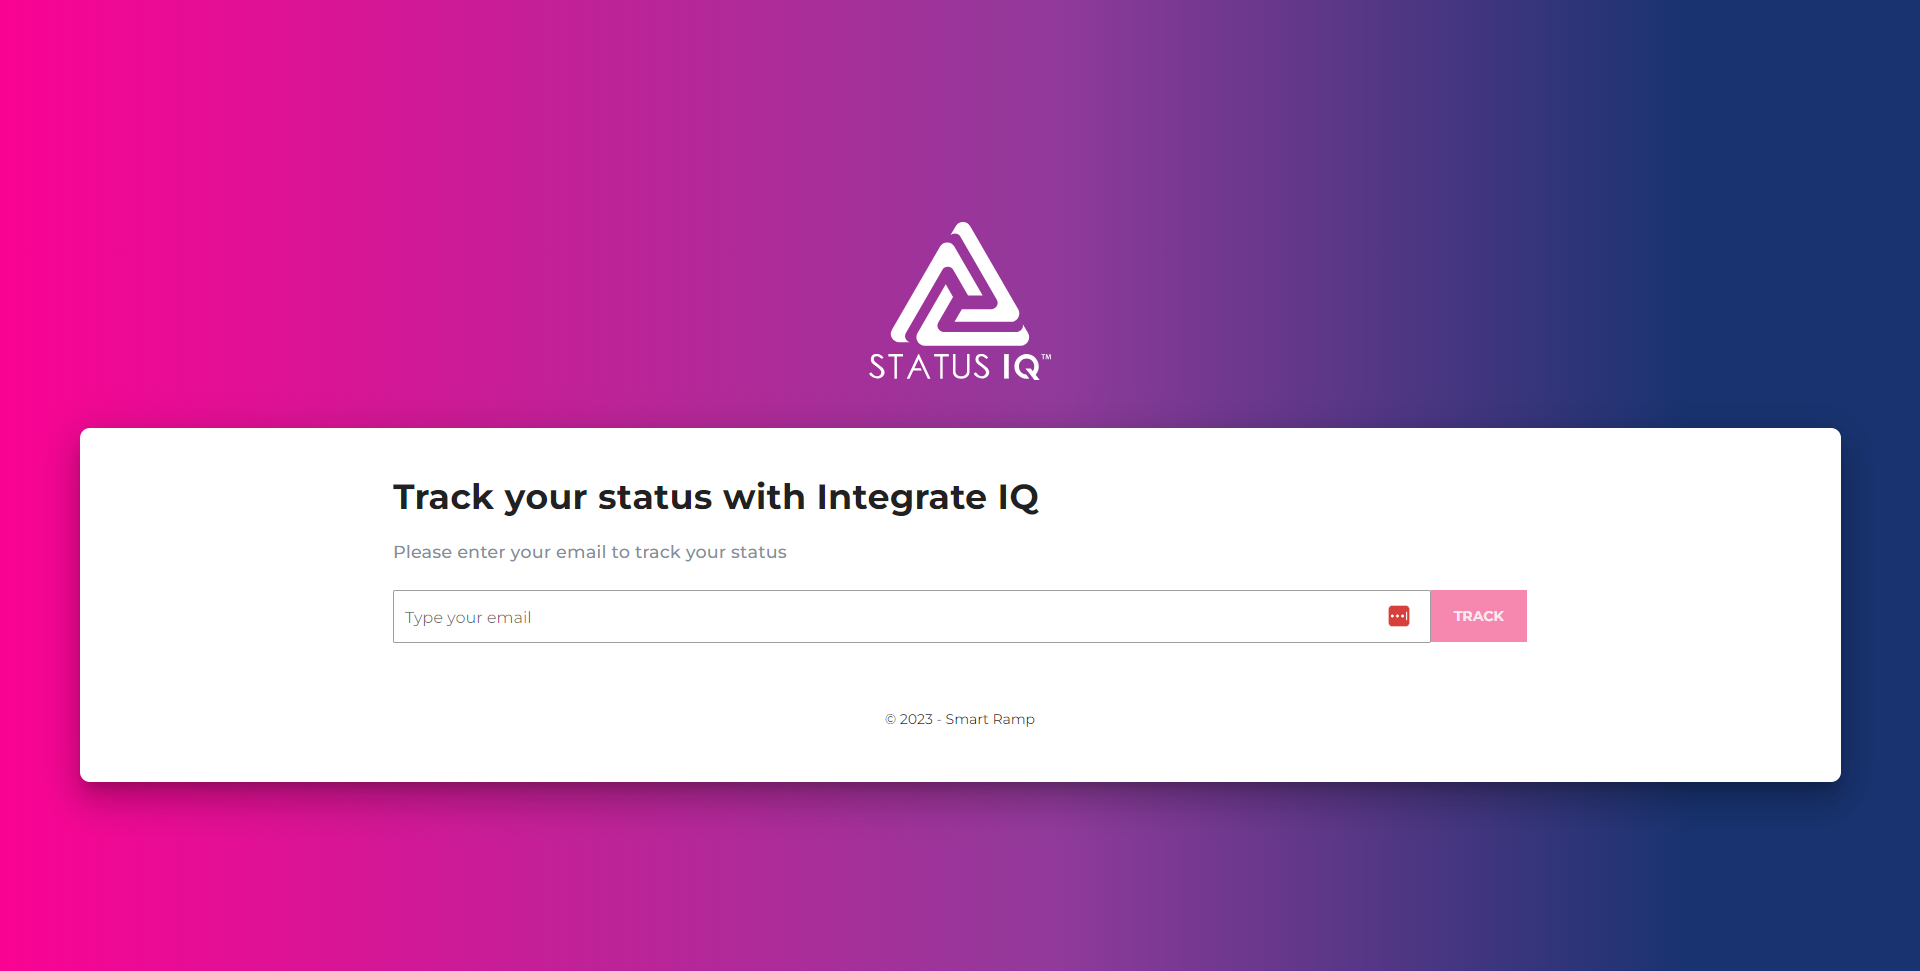
Customers use an email address to access their tracker.
Customer’s email must be associated with the HubSpot Deal or Ticket.
Step 2
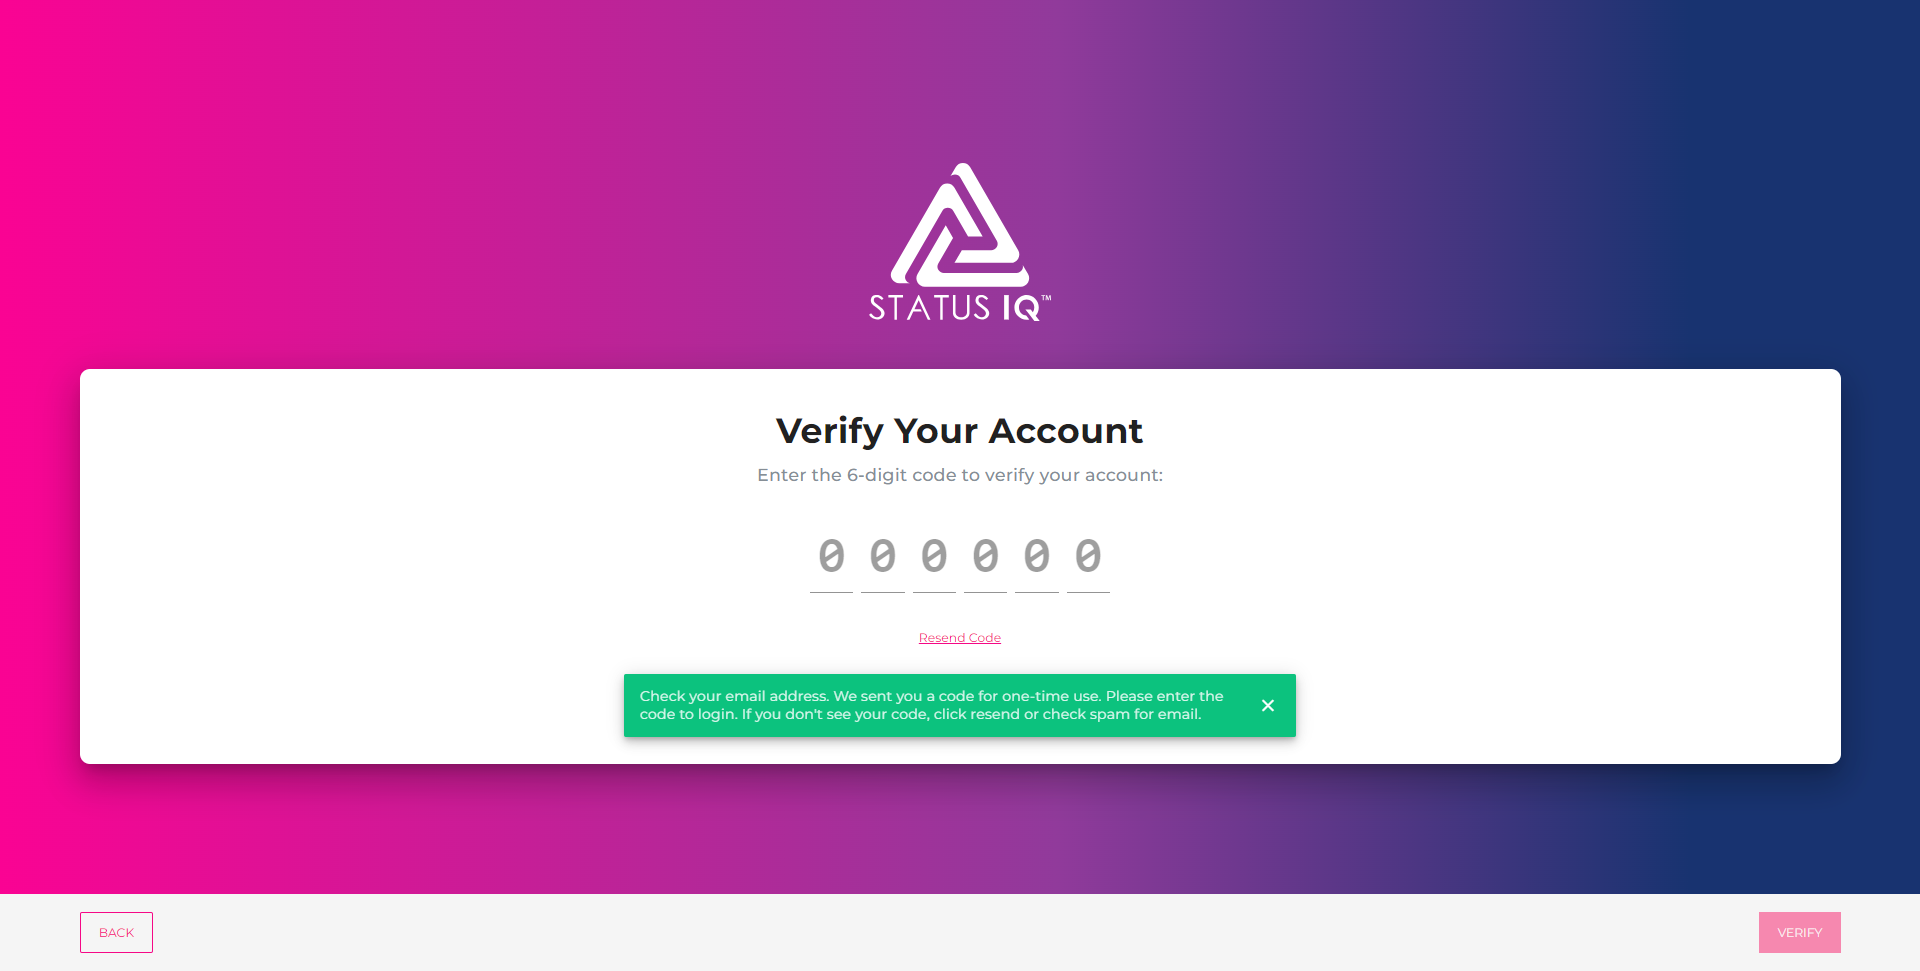
The first time an email address is used, Status IQ sends a verification email to that address.
Customer must click the verification button in their email.
Step 3
Once verified, fulfillment status is presented as a continuum.
Paid Status IQ customers can include links, videos, their branding, and custom text on tracker pages.
